How to make watermelon popsicle soaps
Looking for a kid-friendly crafting project for summertime? Cool down and lather up with our easy homemade popsicle soap tutorial.
What’s better than refreshing, hydrating watermelon on a hot summer’s day? It’s a treat we loved as kids and still look forward to!
This beginner-friendly soap project is a great way to get those summer vibes flowing. Adding a popsicle stick makes this watermelon soap all the more reminiscent of summertime simplicity.
In this step-by-step guide, you’ll learn how to make cute watermelon popsicle soap.
Whether you’re making this unique soap project for kids, with kids, or for kids at heart, this DIY craft is a fun and engaging activity to try this summer.
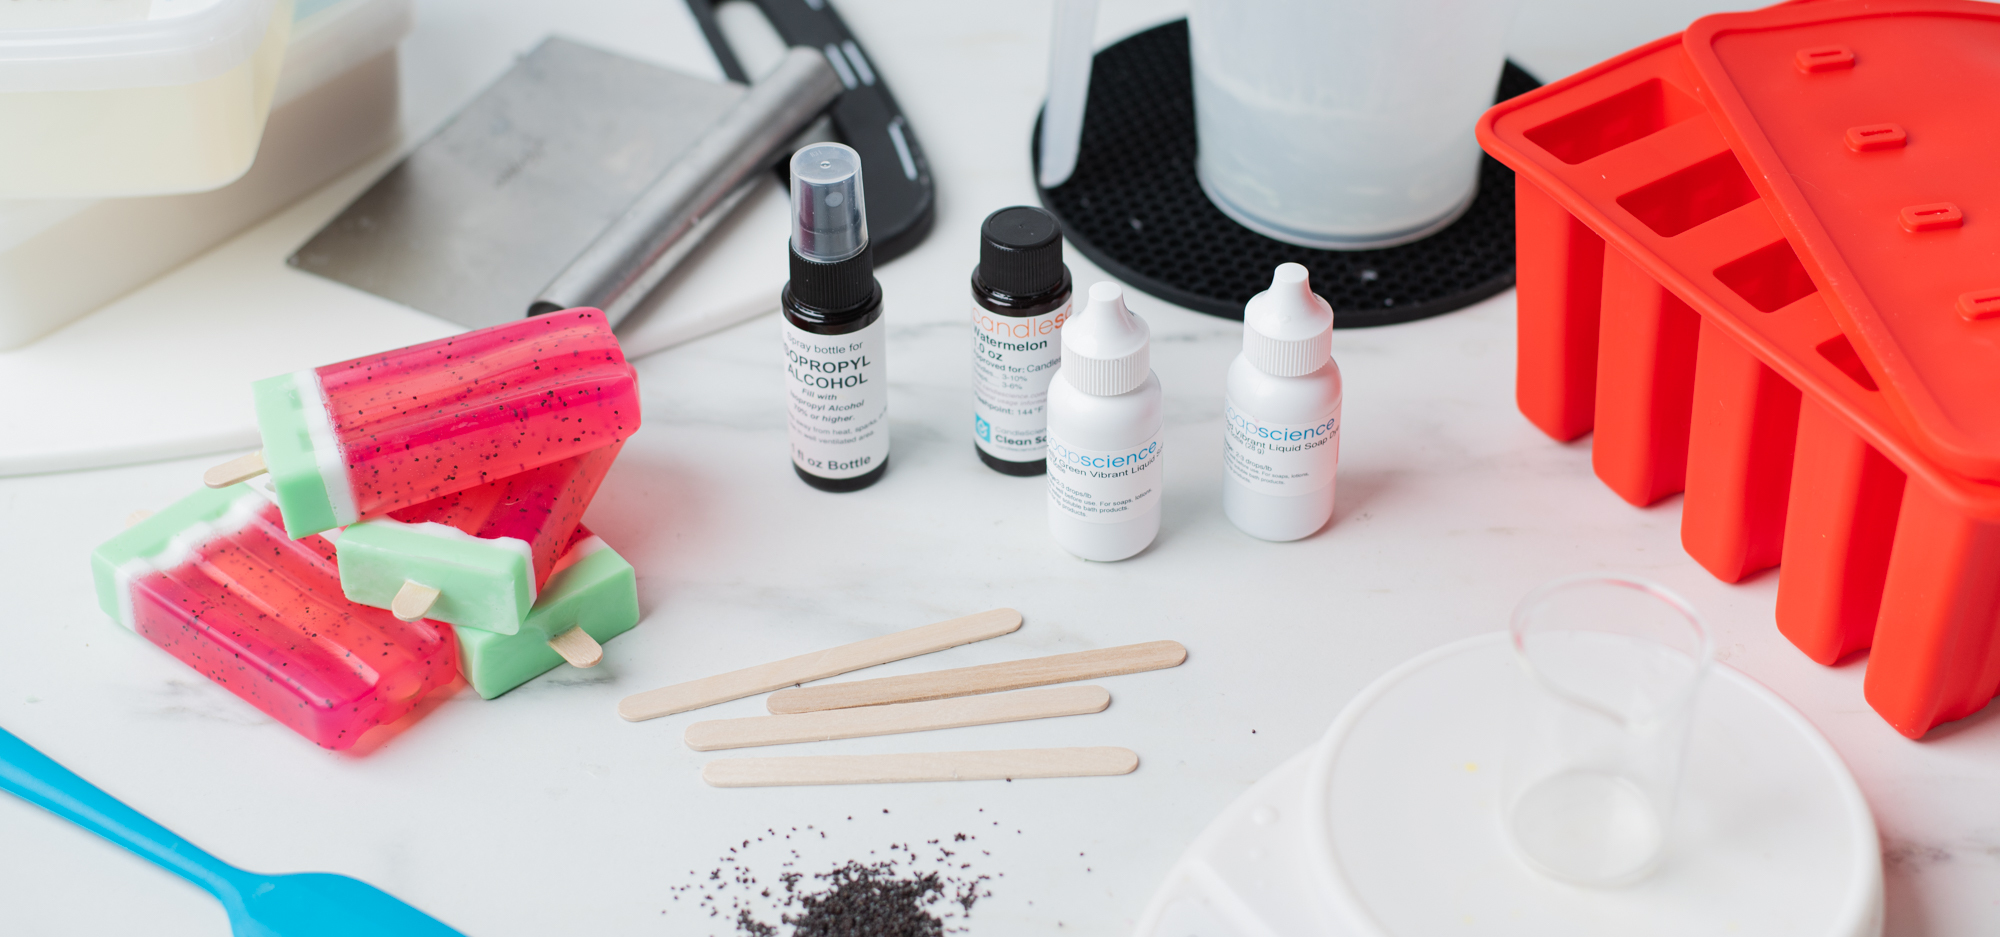
Additional items needed:
Silicone popsicle mold (we found ours on Amazon)
Paper towel
Isopropyl rubbing alcohol
Stirring spatula
Poppy seeds
Cutting board
Latex gloves
Small glass containers (for measuring oil)
Plastic wrap
Microwave
As an Amazon Associate CandleScience earns from qualifying purchases.
Directions:
Step 1: Prepare supplies and work space
Wash your equipment, soap molds, and utensils in warm soapy water and dry thoroughly. Don’t forget your workspace! Avoid any cross-contamination by spraying the area with rubbing alcohol or a 5% bleach solution, then wipe dry with a clean paper towel.
Step 2: Cut and weigh soap base for first layer
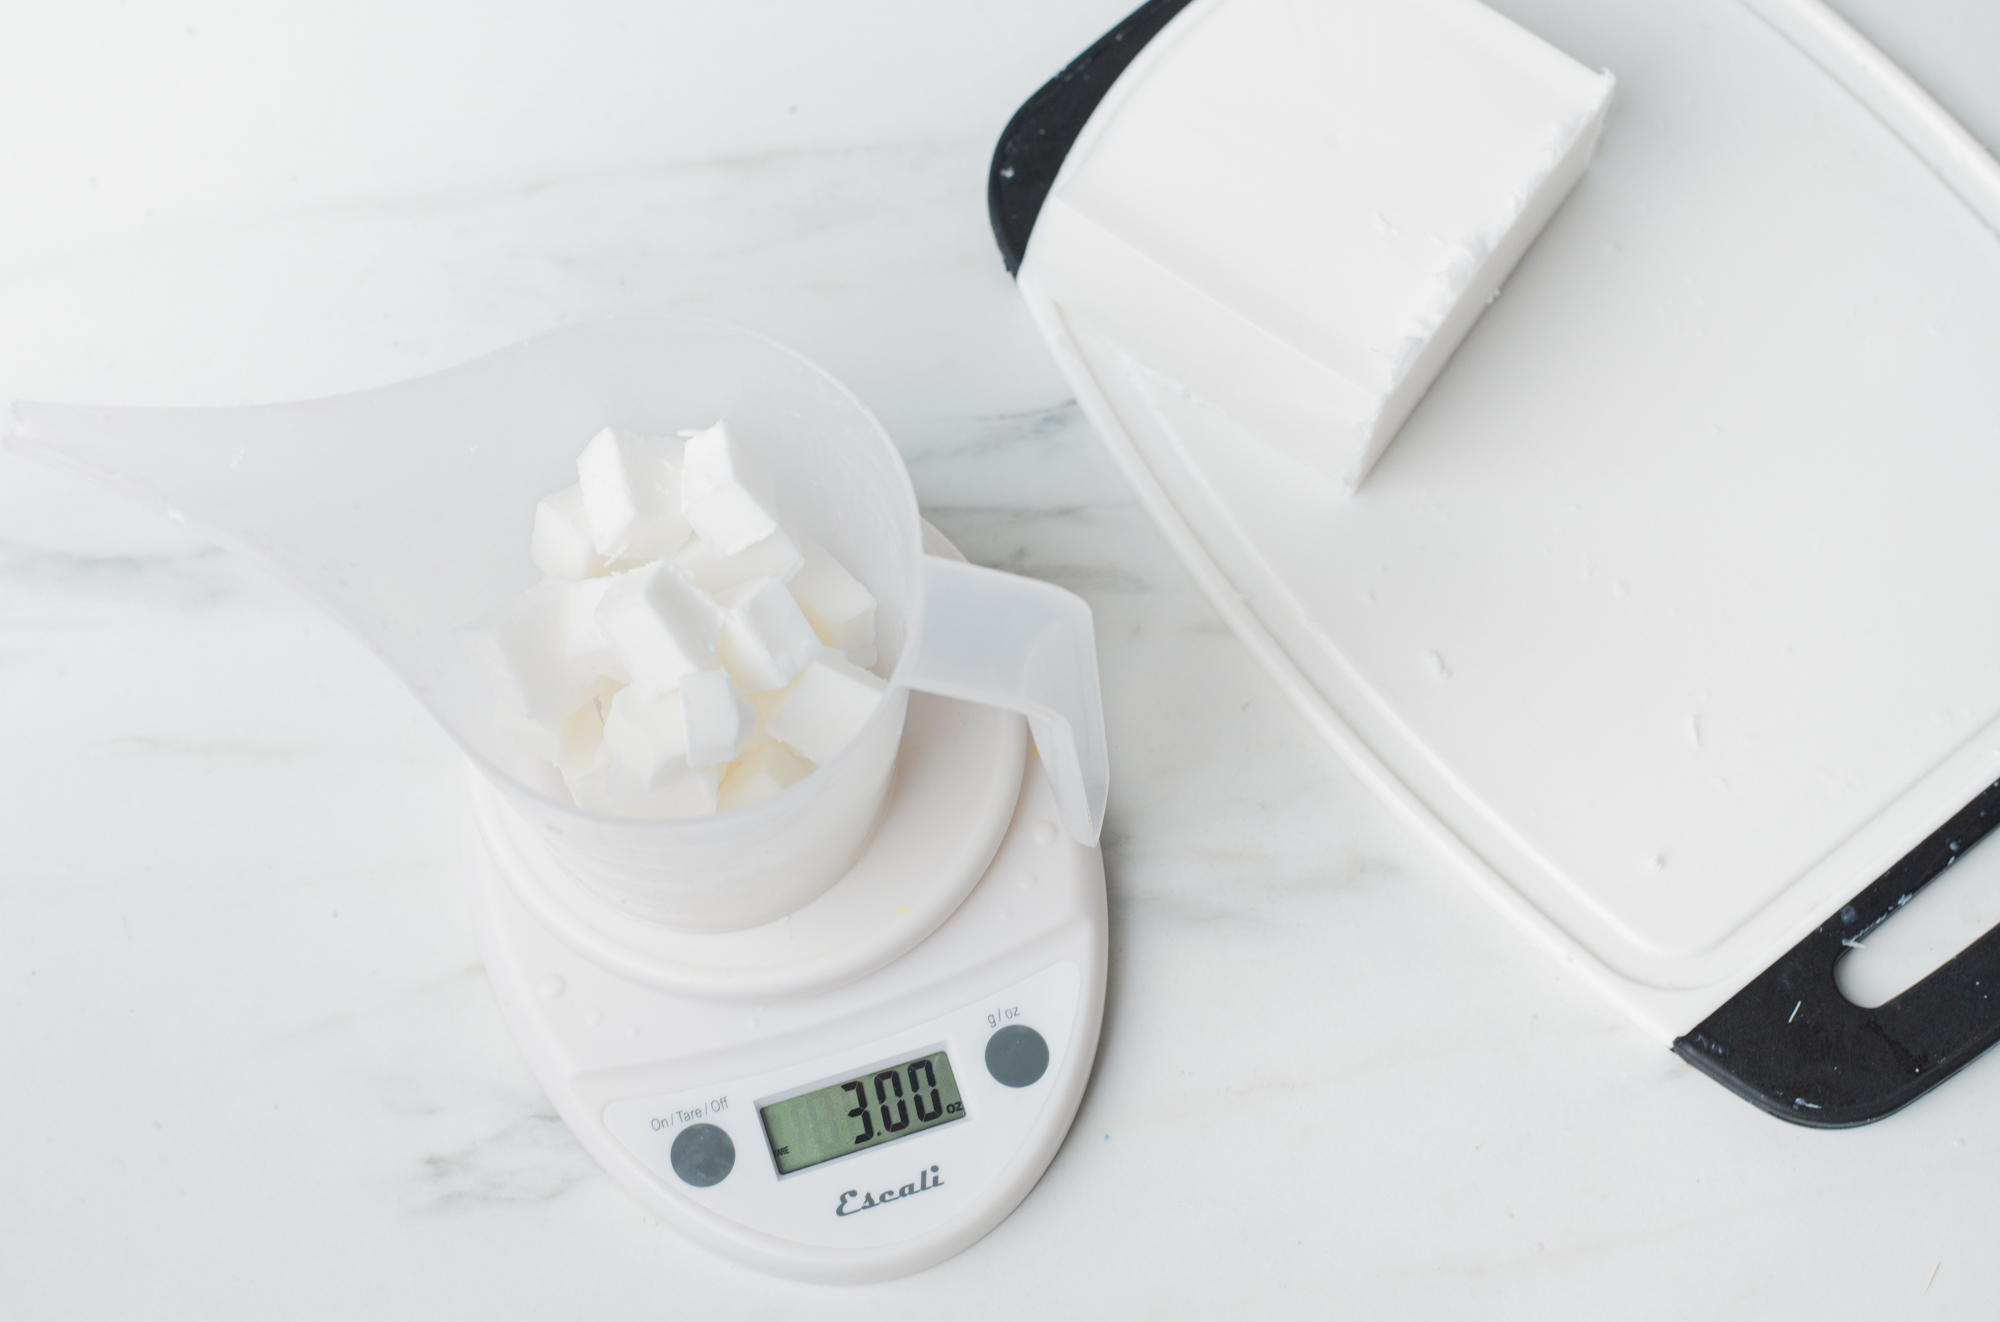
Remove the Stephenson Melt and Pour Clear Suspension Soap Base from the container and cut the soap block just a little more than half. Place the rest back into the container and cut the larger piece into 1 in (2.5 cm) cubes.

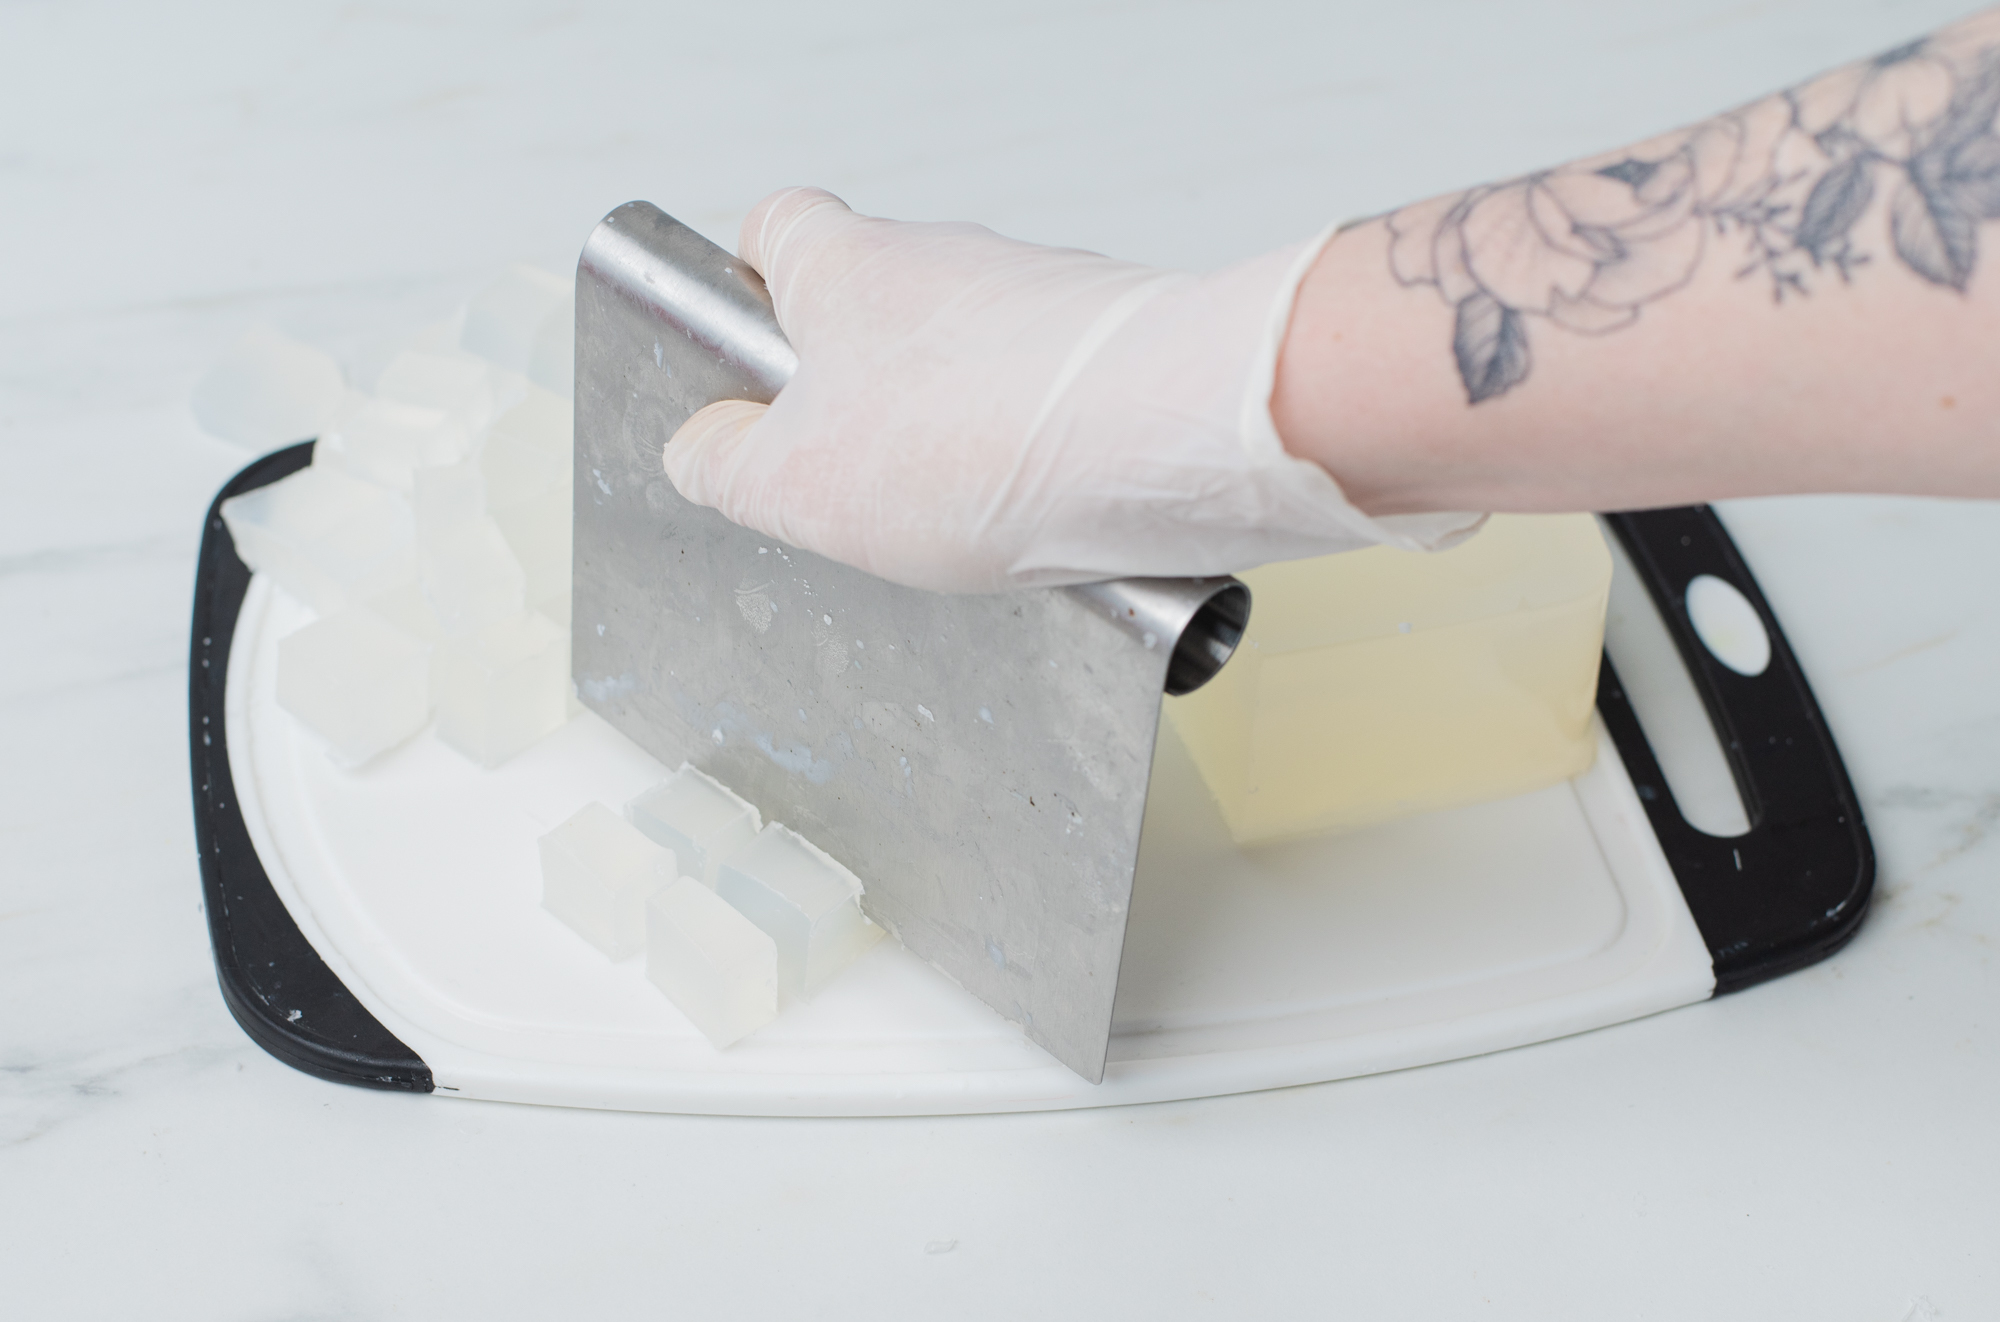
Place your funnel pouring pitcher on the scale and tare the weight. Add the soap cubes and weigh out 12 oz (340 g).
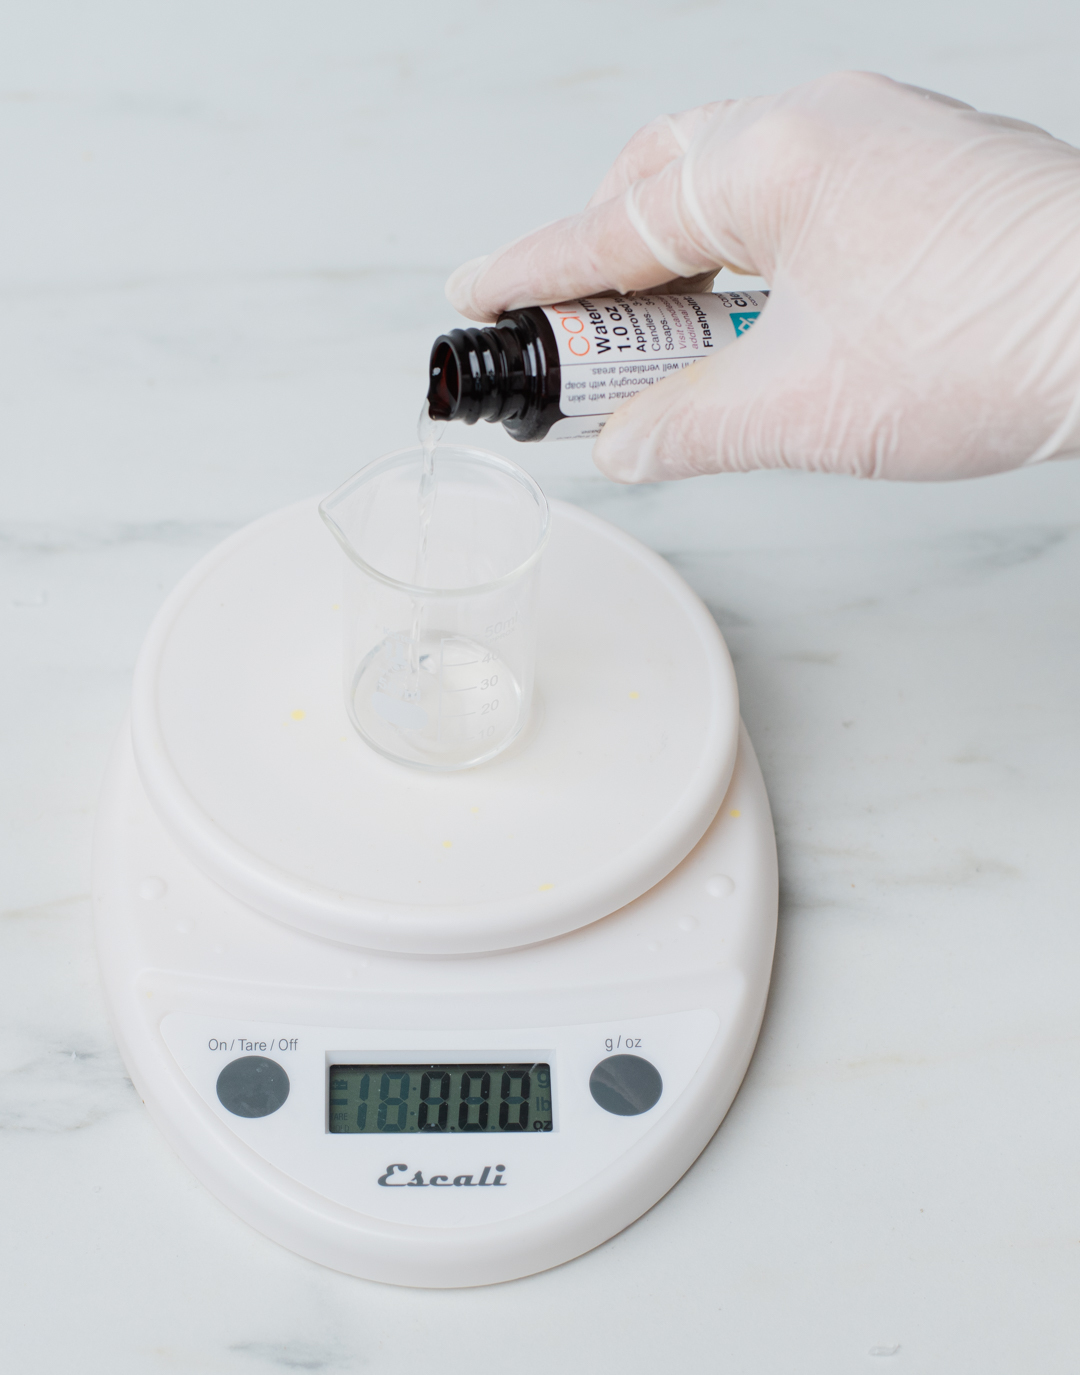
Step 3: Weigh fragrance oil
Place small glass container on scale and tare the weight. Weigh 0.6 oz (170 g) of the Watermelon fragrance oil (or the skin-safe EO of your choice), a 5% fragrance oil load. Set aside.
You want to have your oil prepared ahead of time so the base does not start to cool and harden as you work.

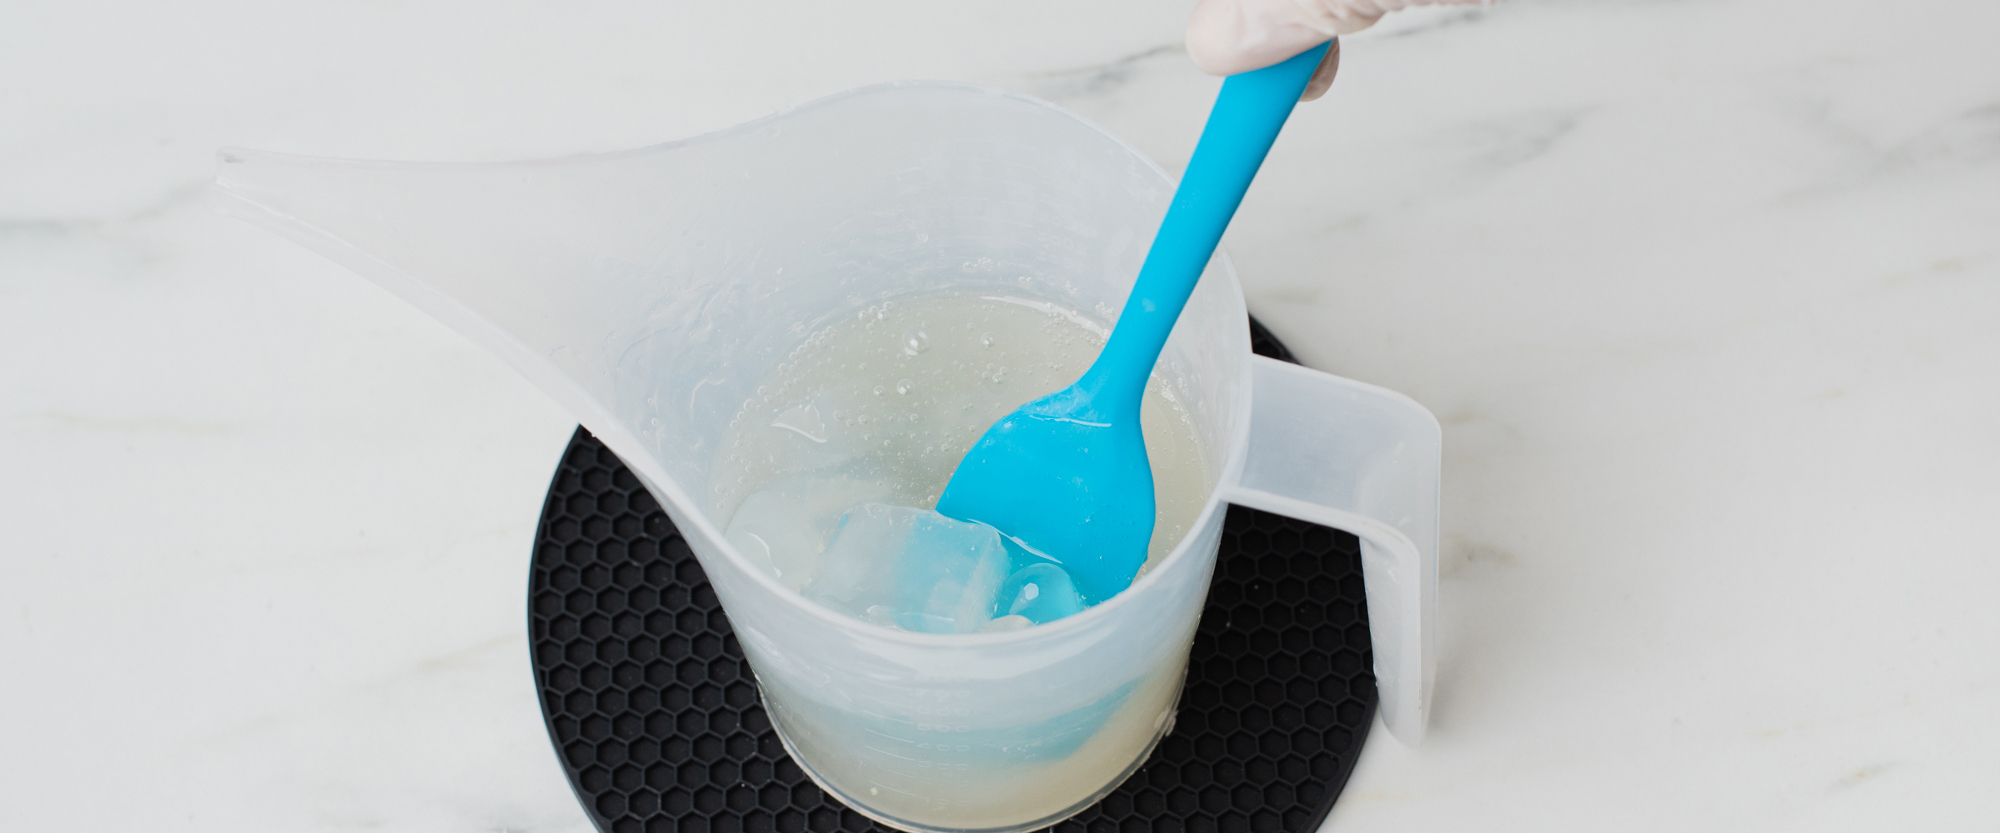
Step 4 : Melt the soap base
Using the Funnel Pouring Pitcher or another microwave-safe container, melt the soap cubes in the microwave for 30 seconds intervals, stirring in between, until the soap is fully melted. Stir in between, and melt for an additional 10 seconds if necessary.
Melted soap will be extremely hot, so use caution when handling it. The soap should not exceed 160ºF (71ºC) to avoid a rubber feel to the finished bars.
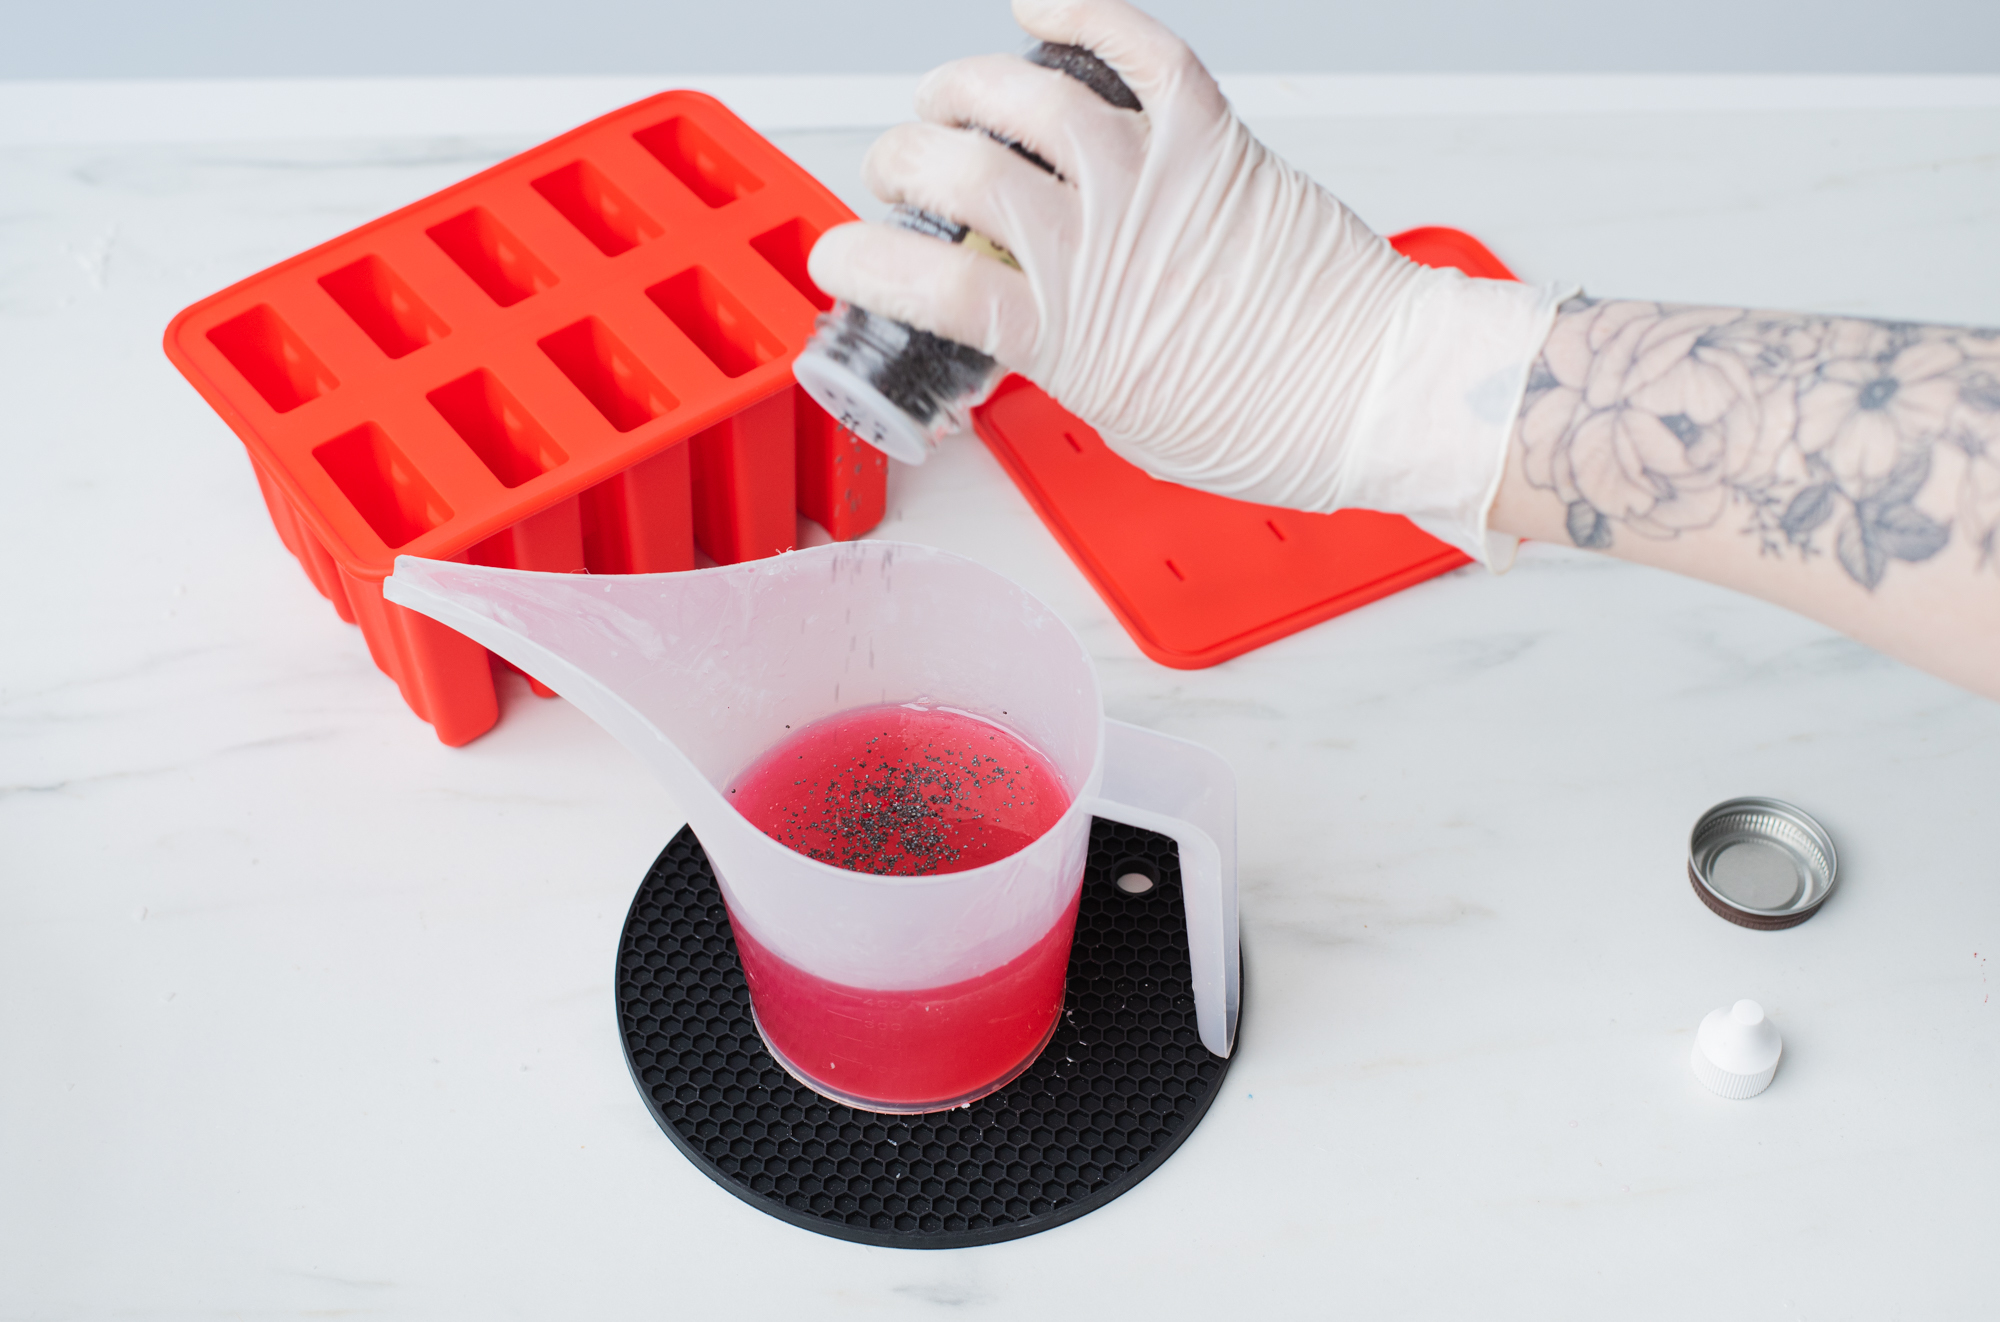
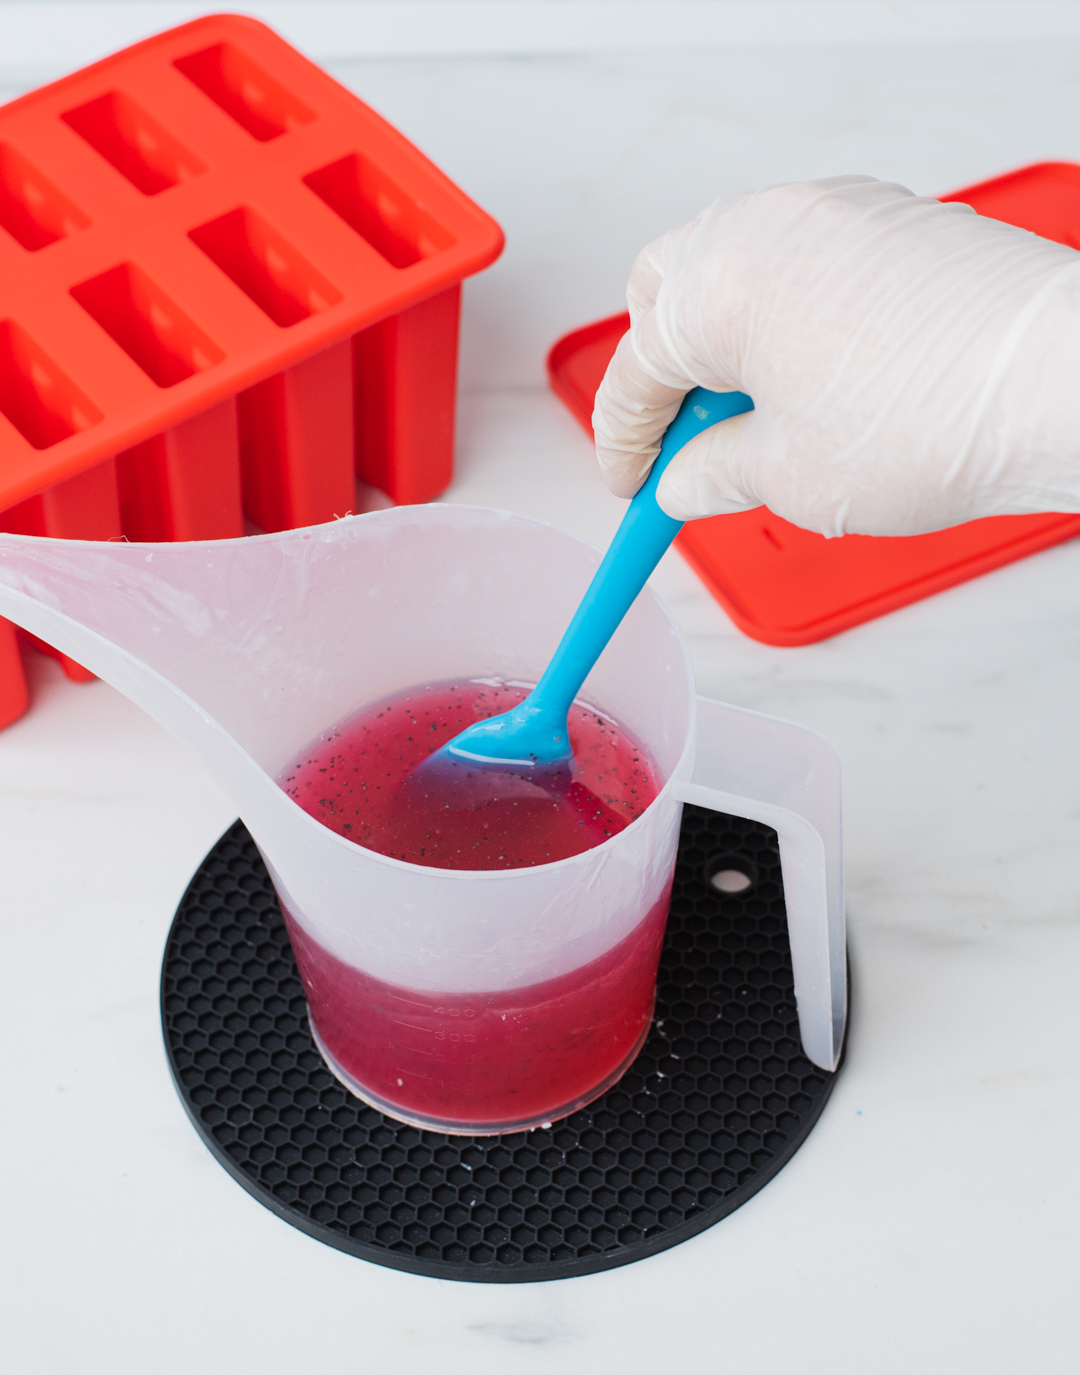
Step 5: Add ingredients
Add your ingredients quickly to avoid the soap setting too much before pouring. First add the Watermelon fragrance oil, then two drops of the Red Vibrant Liquid Soap Dye, and lastly the poppy seeds. Stir gently until all ingredients are fully incorporated.
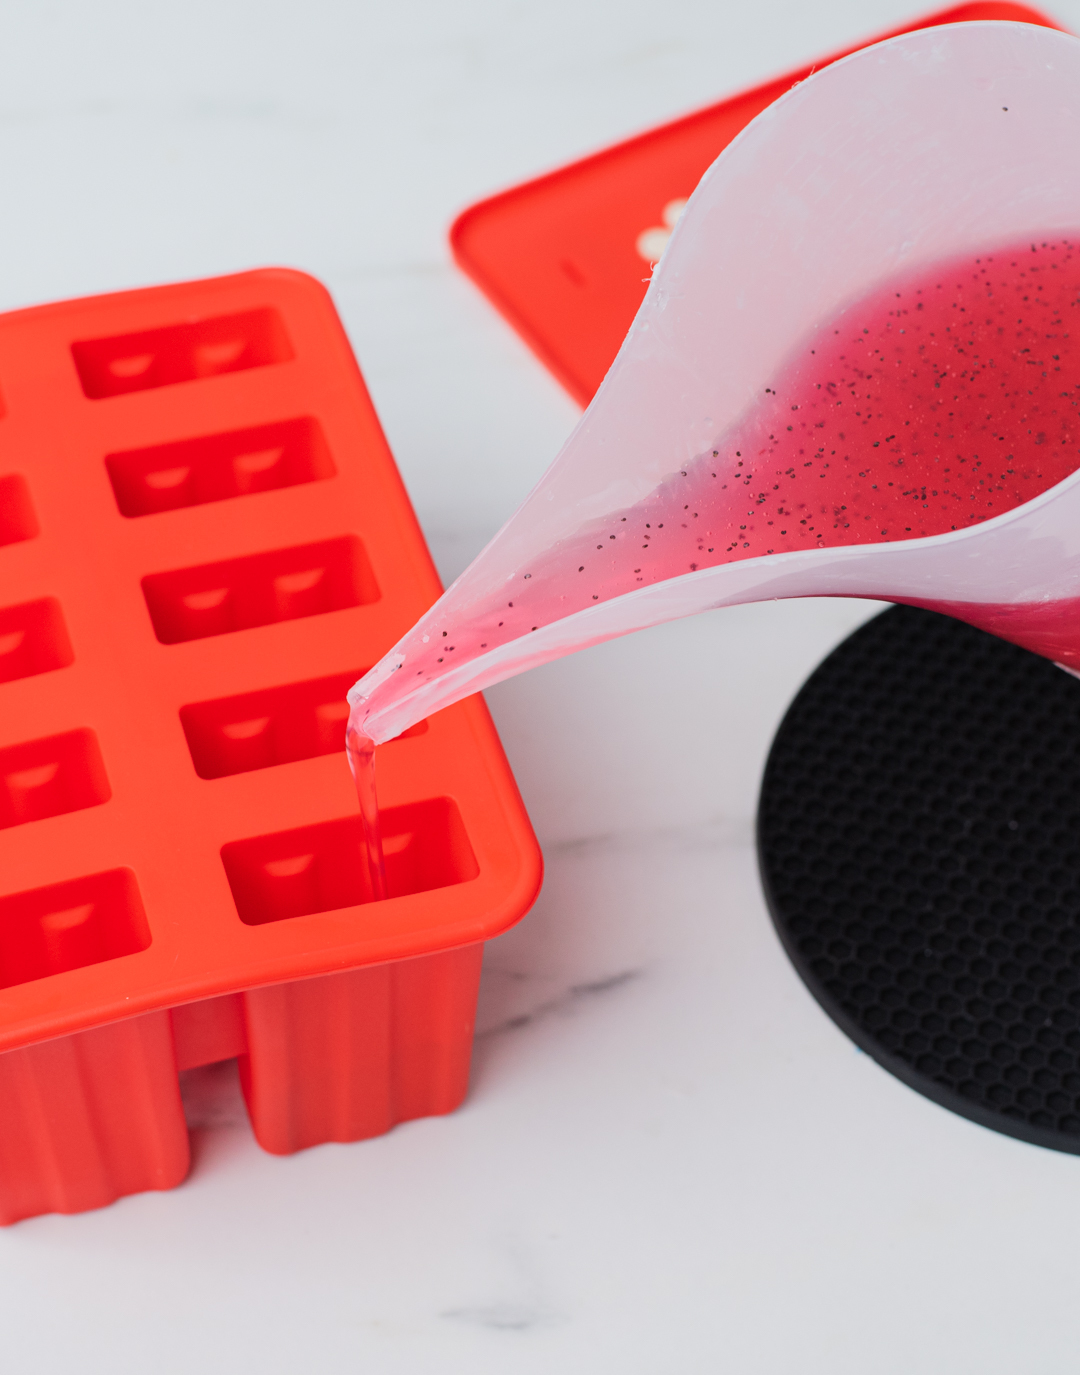
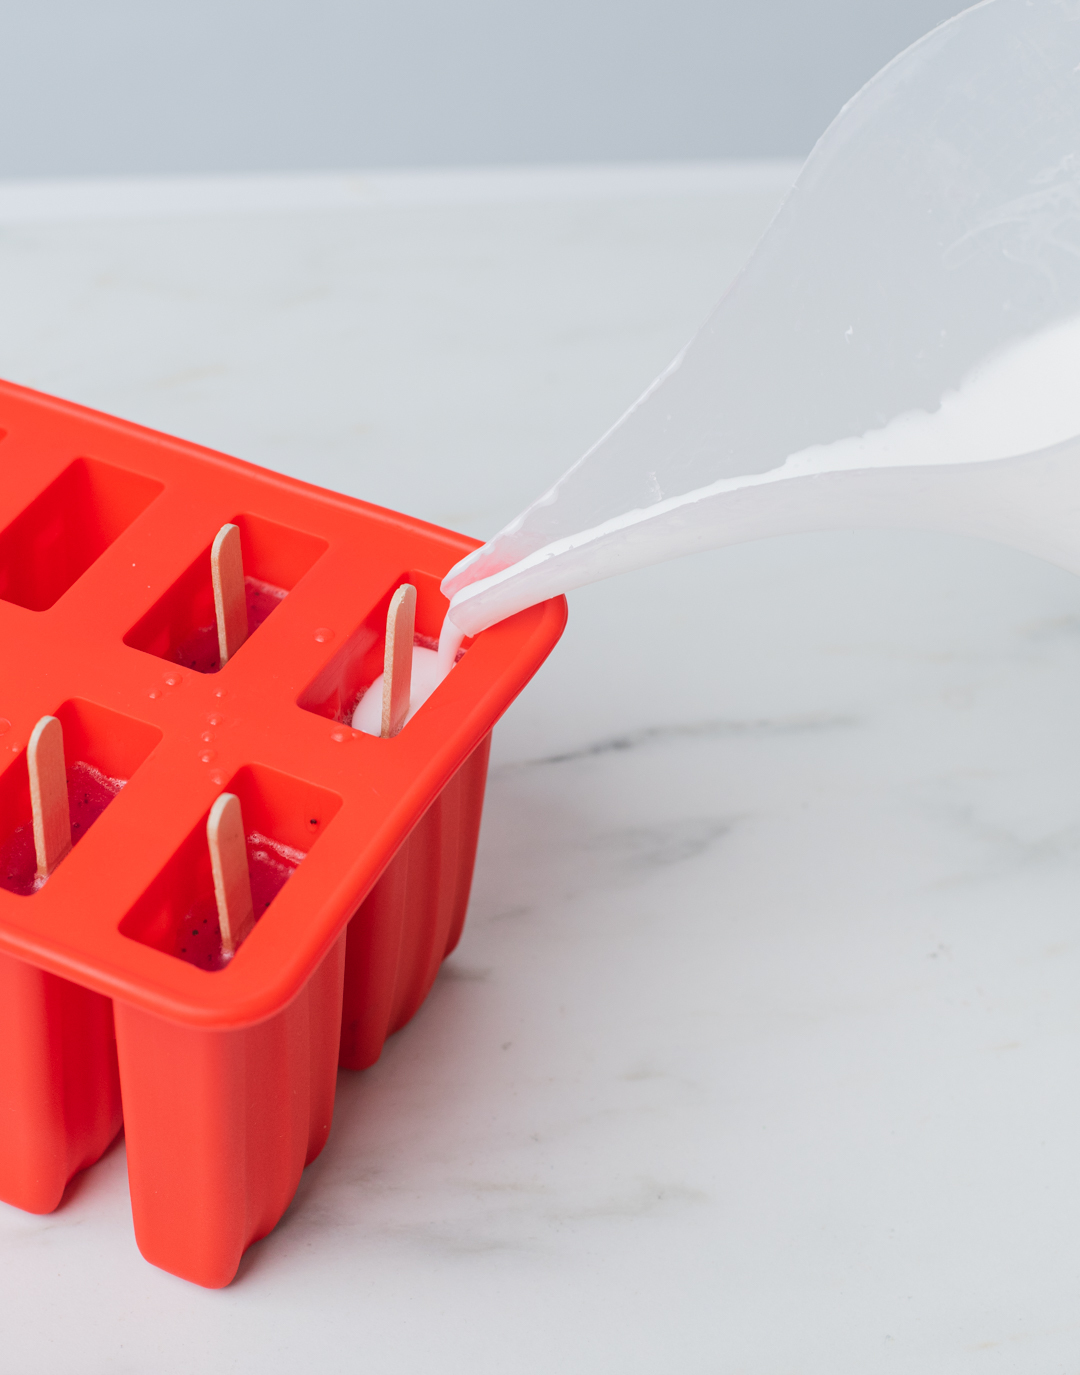
Step 6: Pour the soap
Pour the soap into the popsicle molds slowly to reduce the amount of air bubbles. Spray the surface with alcohol to remove any bubbles.
There will be a little soap leftover in case of spills or variation of where you want the red part of the soap to end. Use leftovers to make another soap bar or in another melt and pour soap project.
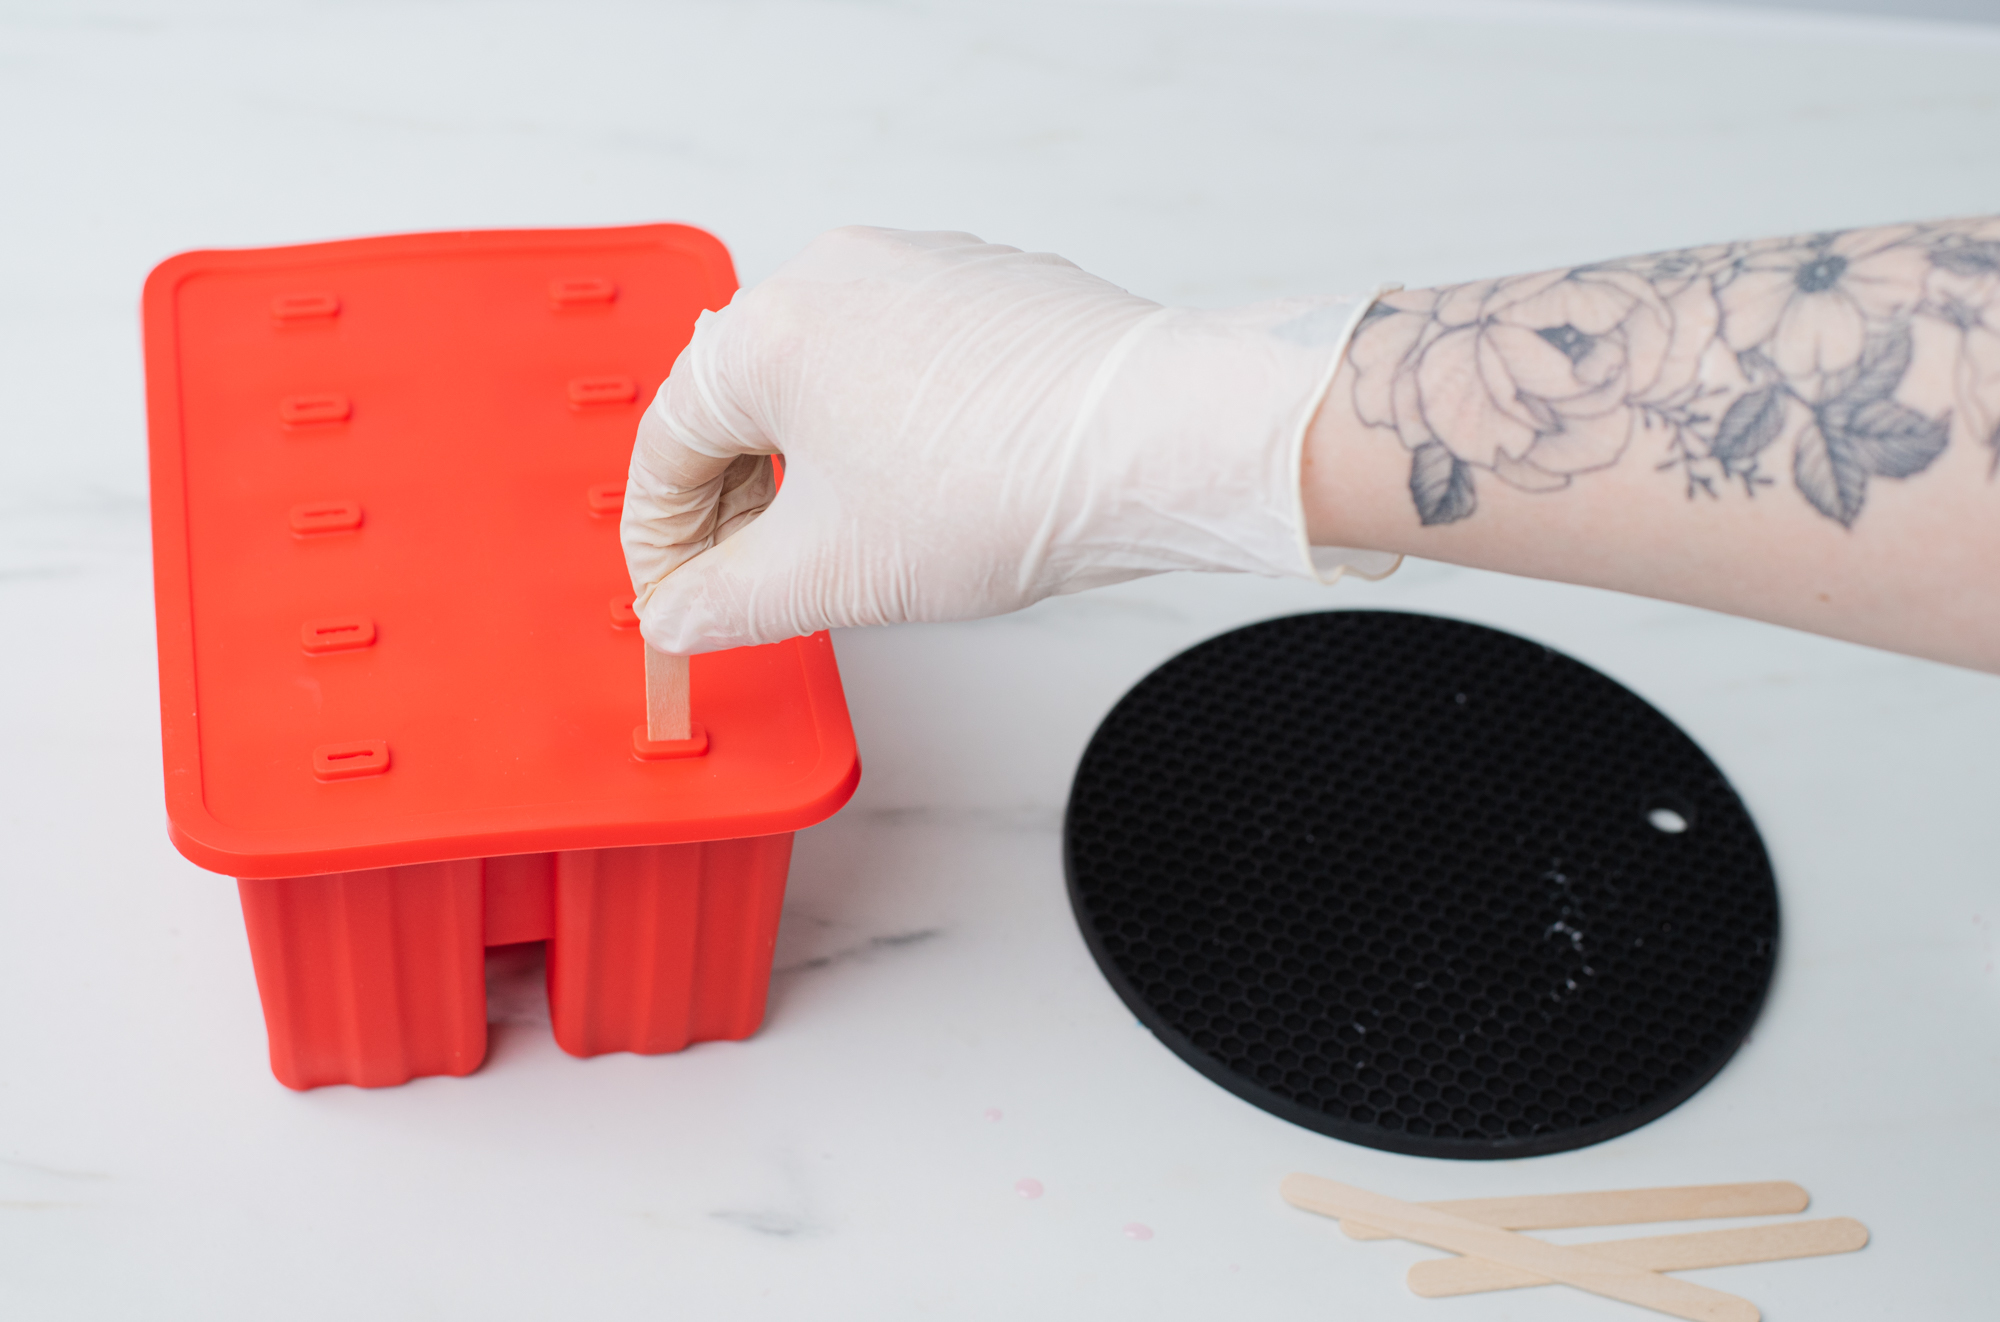
Place your popsicle sticks into the soap. We used the lid that the mold came with to hold the sticks in place.
Note: Allow the soap to cool a bit before removing the lid (if you’re using one) to avoid shifting the popsicle sticks around.
Step 7: Create second layer
Repeat step two using the Goat’s Milk soap base.
Weigh out 3 oz (85 g) of soap and melt in 30 second intervals until fully melted.
Pour a thin white line over the top of the popsicles and allow to cool.
Set aside the remaining soap for the final layer.
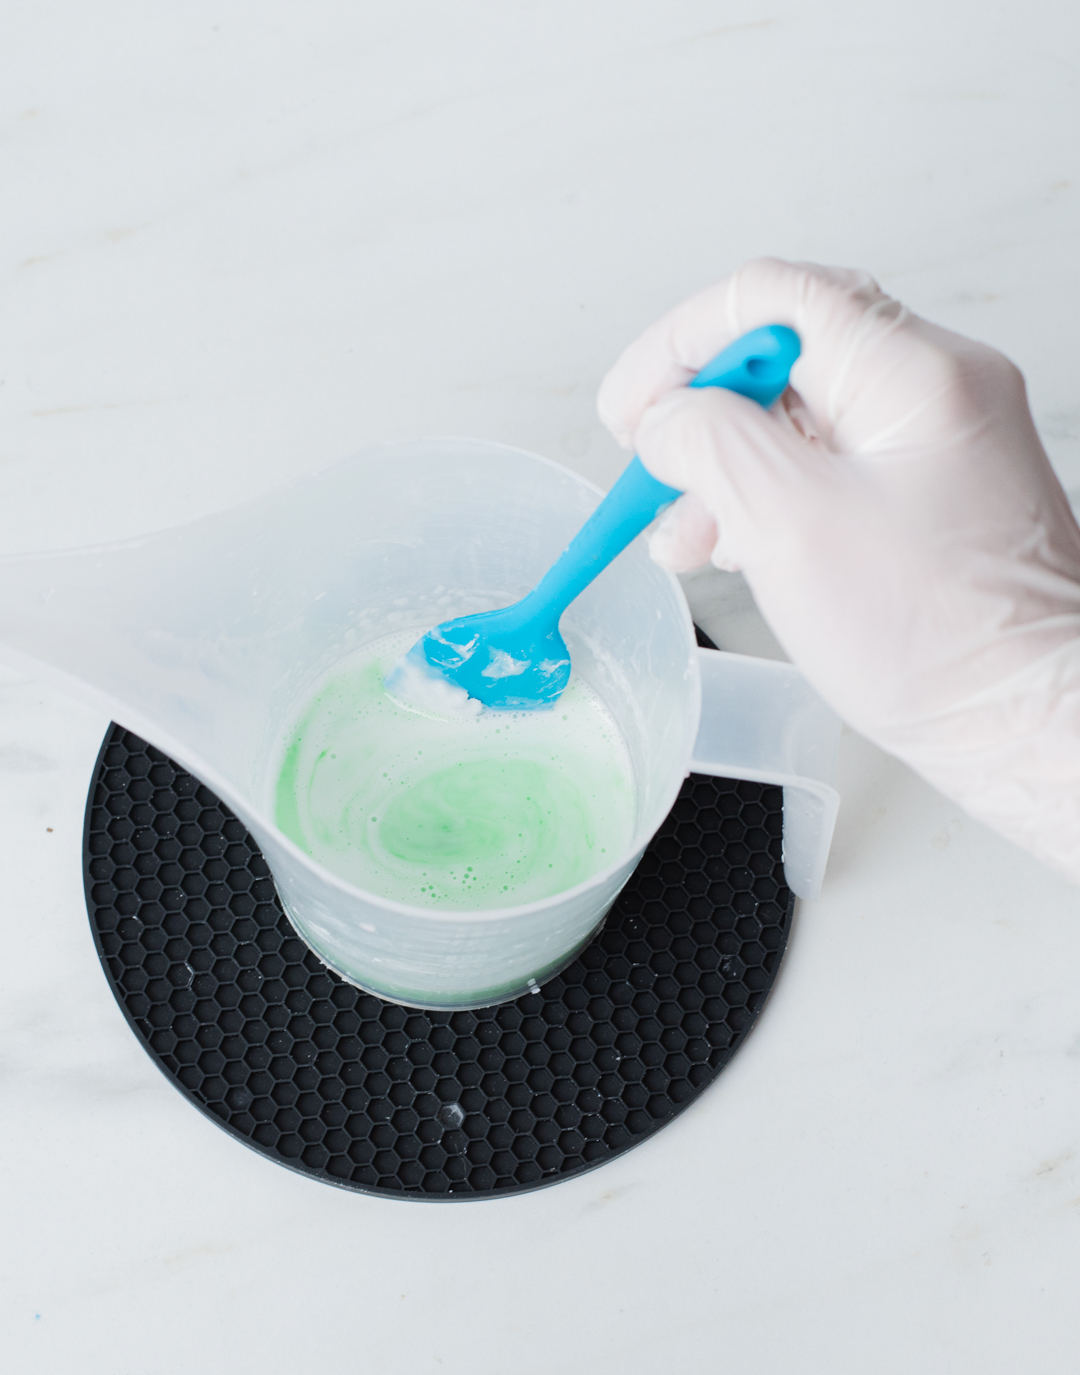
Step 8: Melt and pour the third layer
Once the white layer begins to set, reheat the white soap base you set aside until it is fully melted. Add 2 drops of the Kelly Green Vibrant Liquid Soap Dye and stir until fully incorporated.
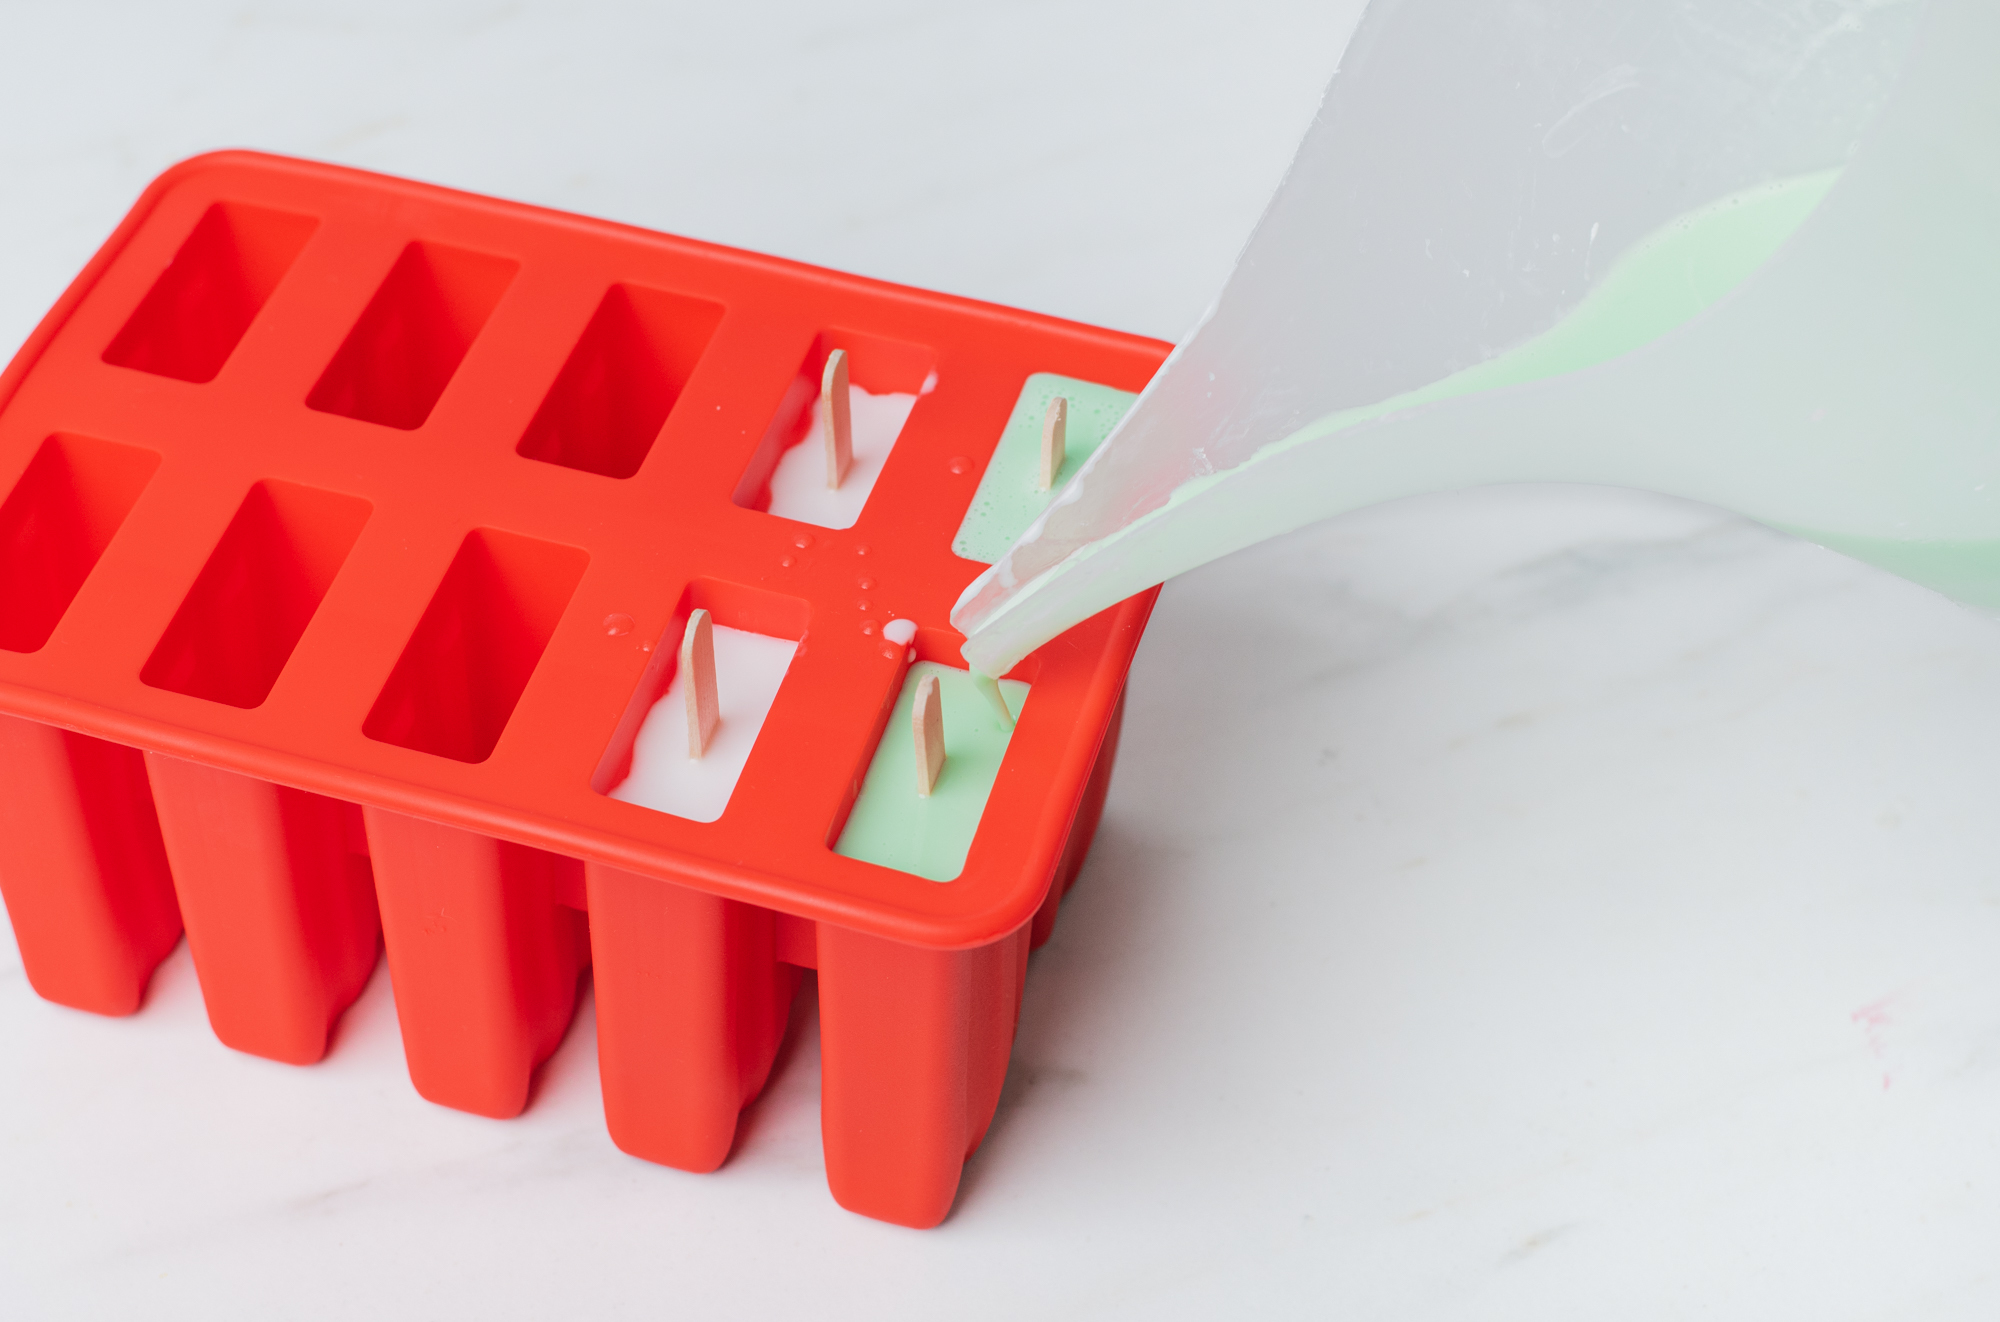
Slowly pour the green soap to the top of the mold and allow it to fully cool.
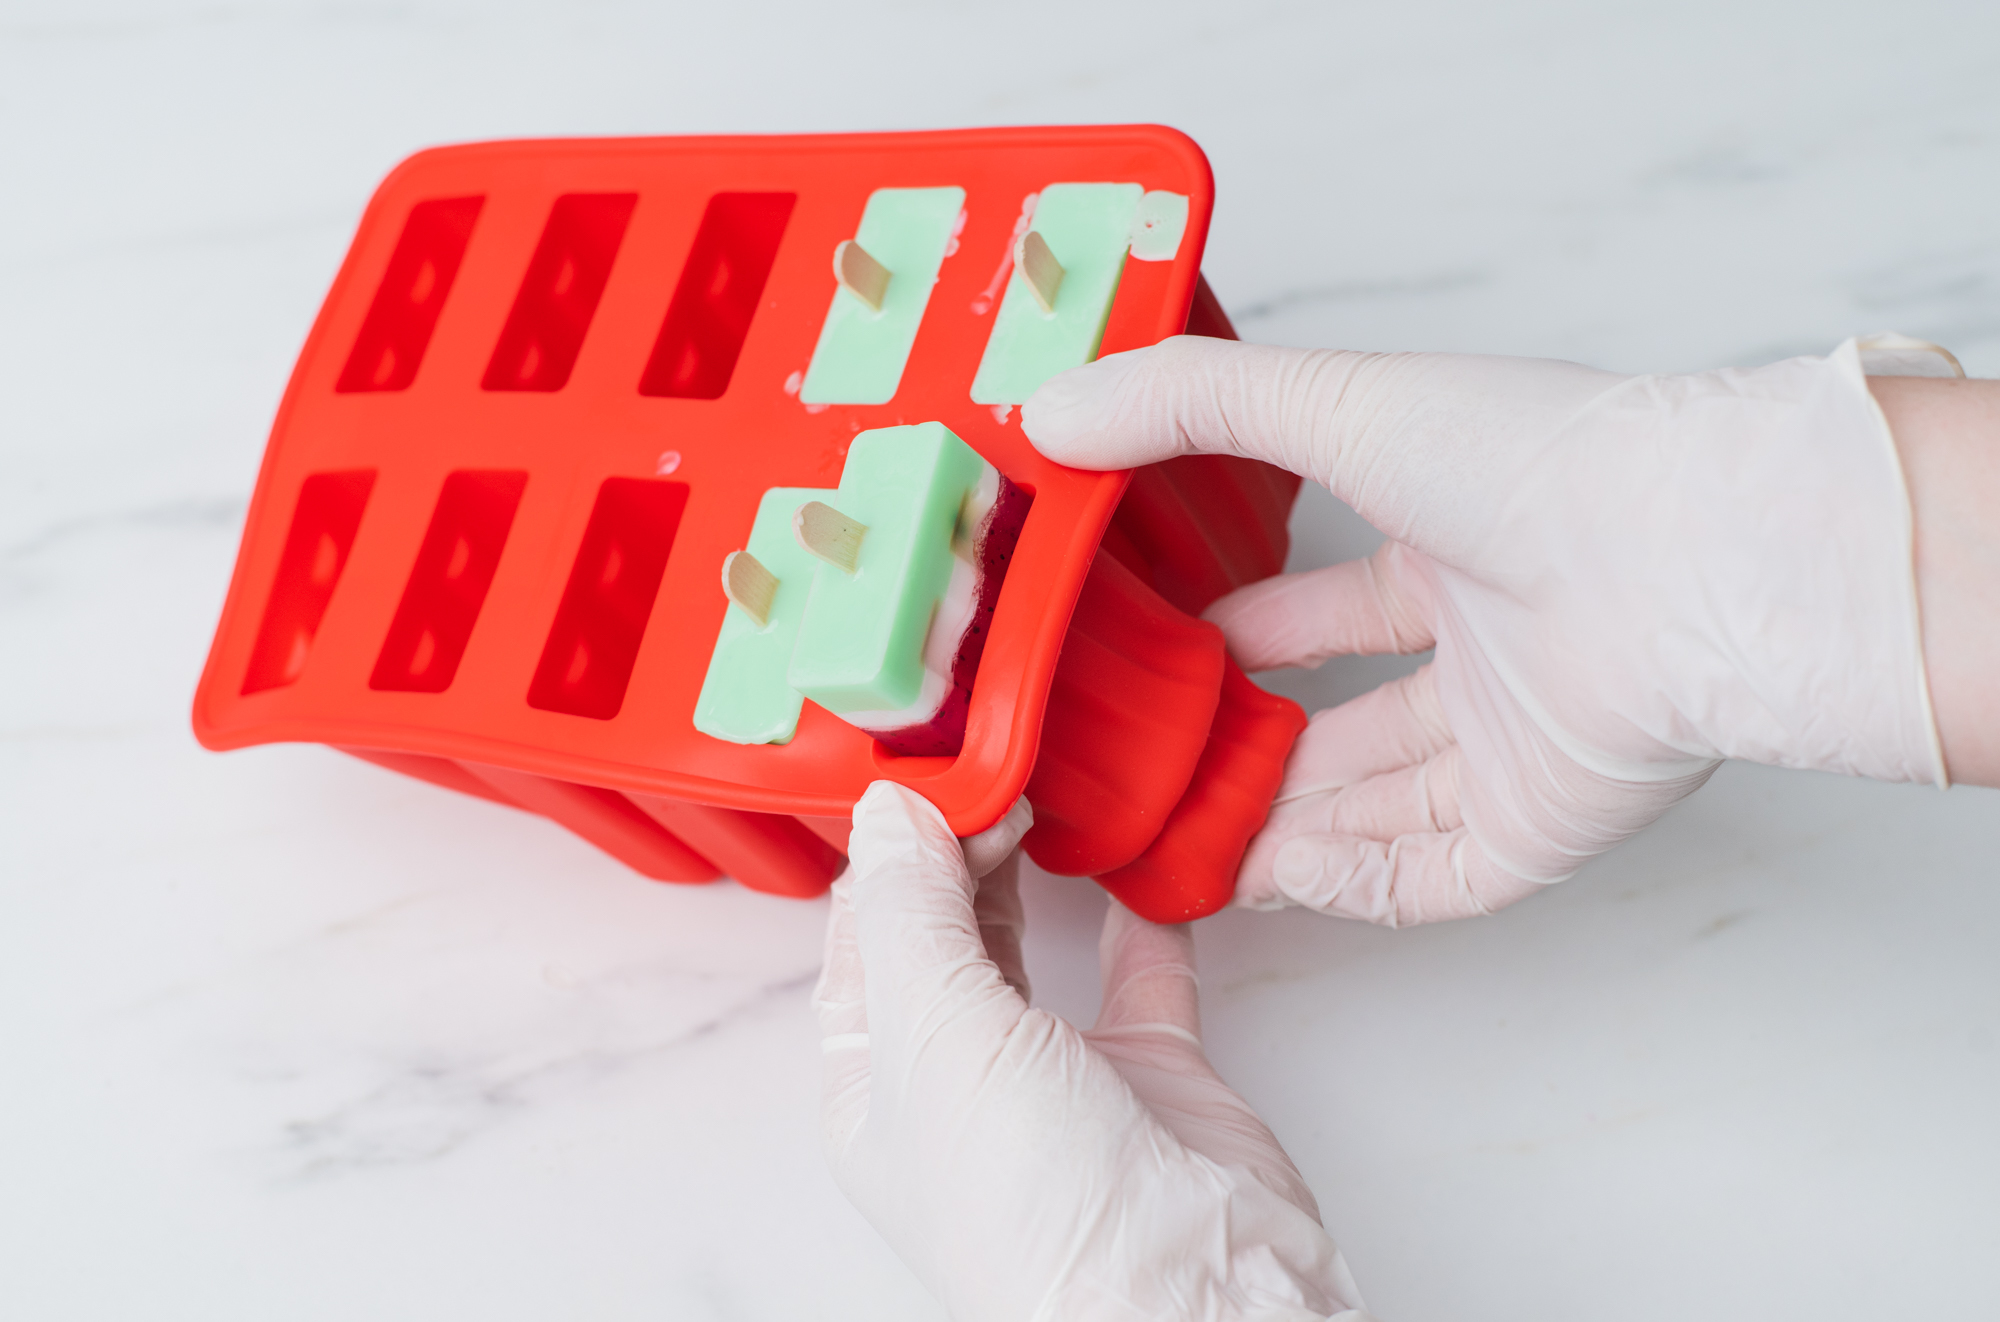
Step 9: Remove soap from mold
Once your soap is completely cooled, remove your soap popsicles from the mold. If the popsicles do not come out easily, allow them to cool longer, or stick the mold in the refrigerator for up to 30 minutes and try again.

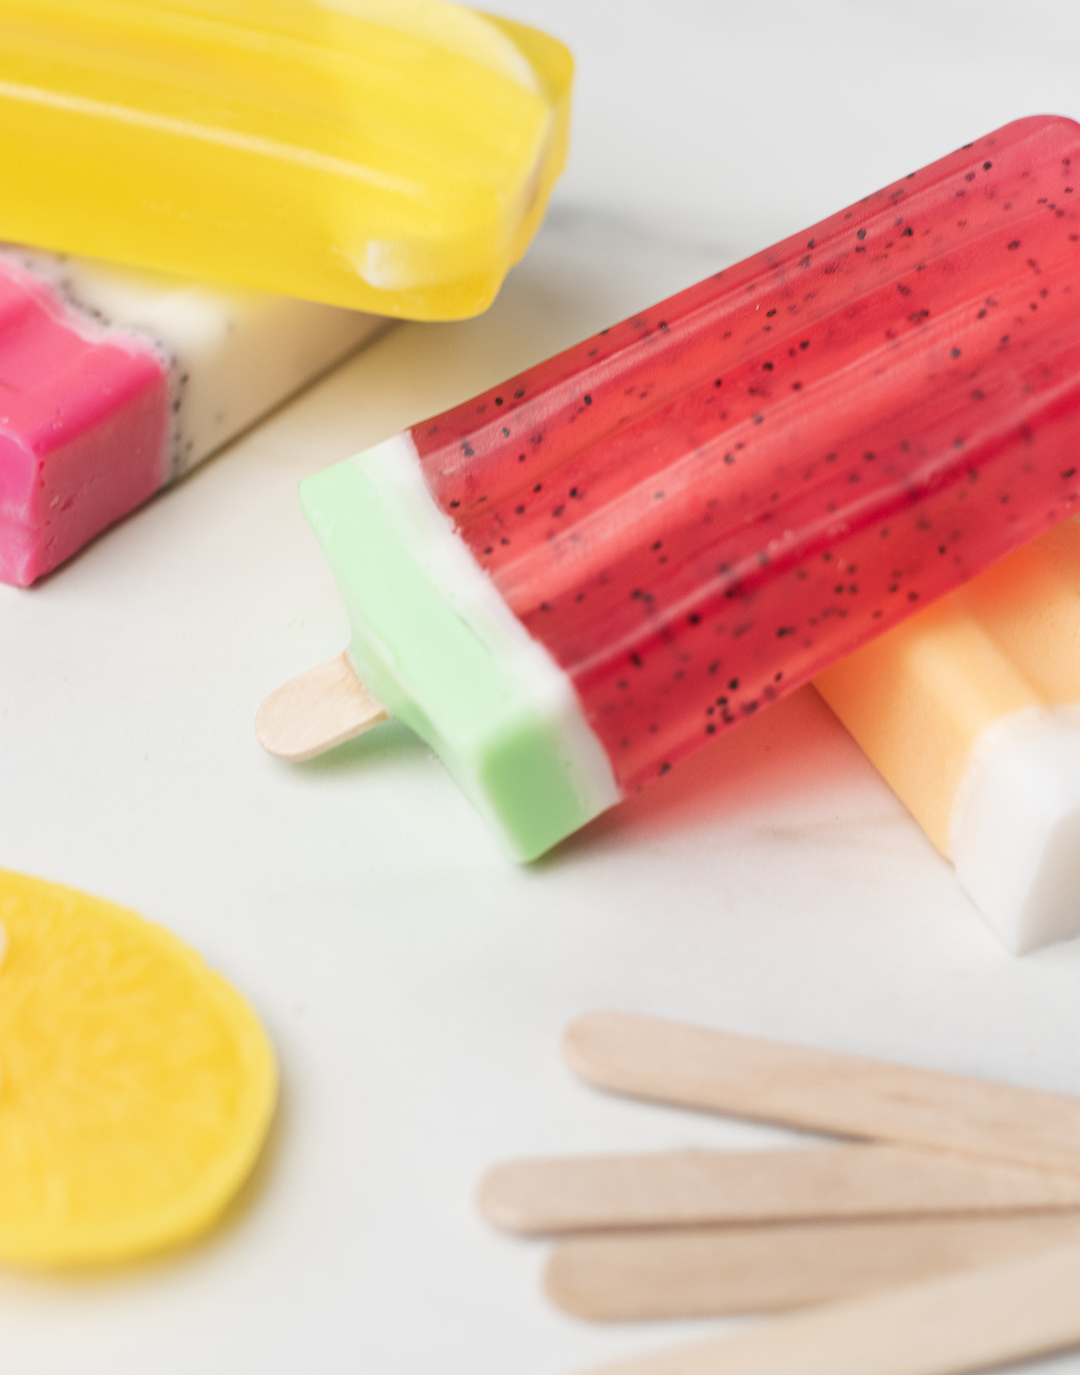
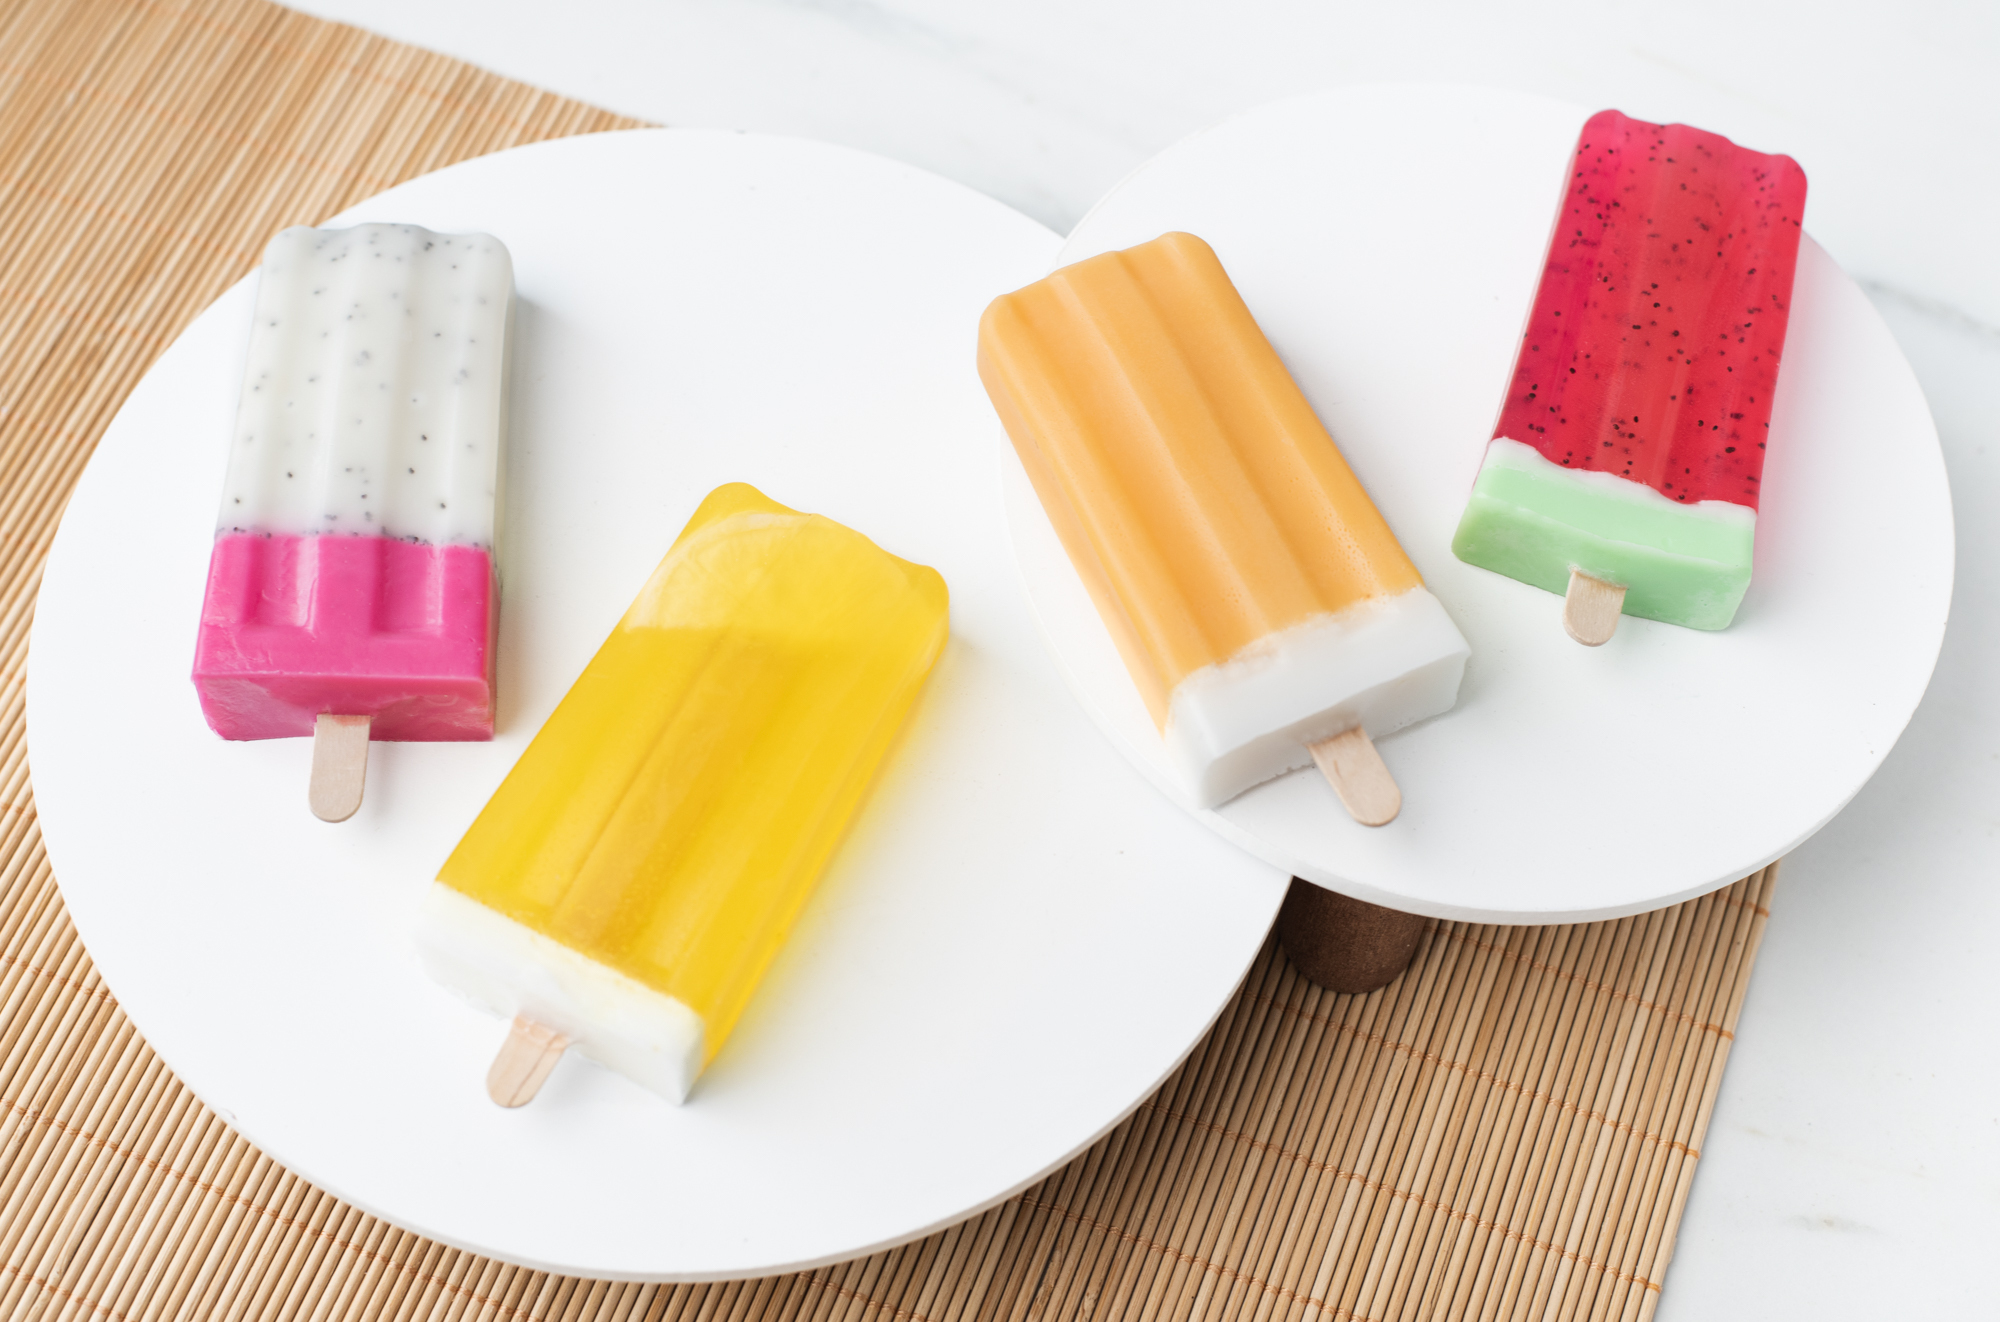
Discover ways to customize your creations by exploring other themes like dragon fruit, lemon, orange cream, and rainbow popsicles!
Show off your take on the watermelon popsicle soaps and all your handmade creations, with the CandleScience community by tagging us @CandleScience and using the #CandleScientist hashtag on Facebook, Twitter, and Instagram. We may feature you in our Stories or on our website!