How to make embedded heart container candles

Why wear your heart on your sleeve when you can embed it in a candle? Celebrate Valentine’s Day and practice with embed techniques at the same time with this swoon-worthy container candle project. As makers, we pour our hearts into our craft. And in this project, literally!
We recommend having some familiarity with the process for pouring container candles when tackling this project.
Note: In this tutorial, you’ll learn how to make container candles with an embedded heart shape perfect for Valentine’s Day or other romantic occasions. We experimented with a few different waxes and found that IGI 6006 paraffin-soy blend works beautifully for this application, so if you’re considering trying out this wax this is a fun project to begin with.
In order to keep our projects up to date and on trend, we will sometimes make adjustments or updates. This tutorial was updated on 1/24/23.
Watch Video: Here
EO Notes: You can also use candle-approved essential oils for this project. Check the recommended usage percentage on the essential oil product page and start with low percentages. How to Make Soy Candles with Essential Oils
Additional Items Needed:
- Small heart shaped cookie cutter (we got ours at Walmart)
- Double boiler or hot plate
- 8 or 9 inch metal pie plate (should not be re-used for food preparation)
- Spatula for stirring wax
- Rubbing alcohol
- Paper towels
- Parchment paper
Directions:
PART 1
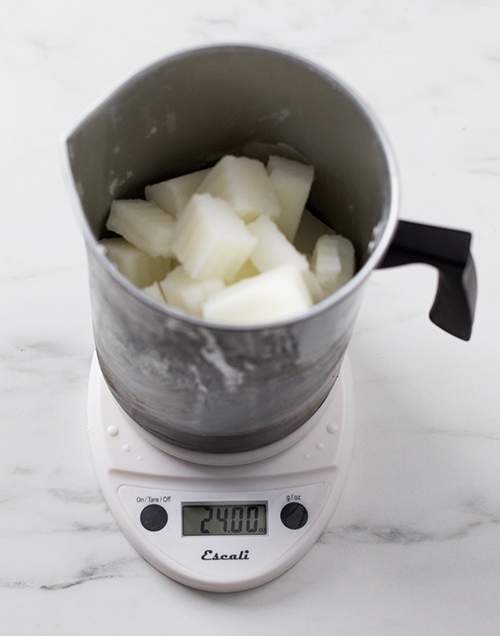
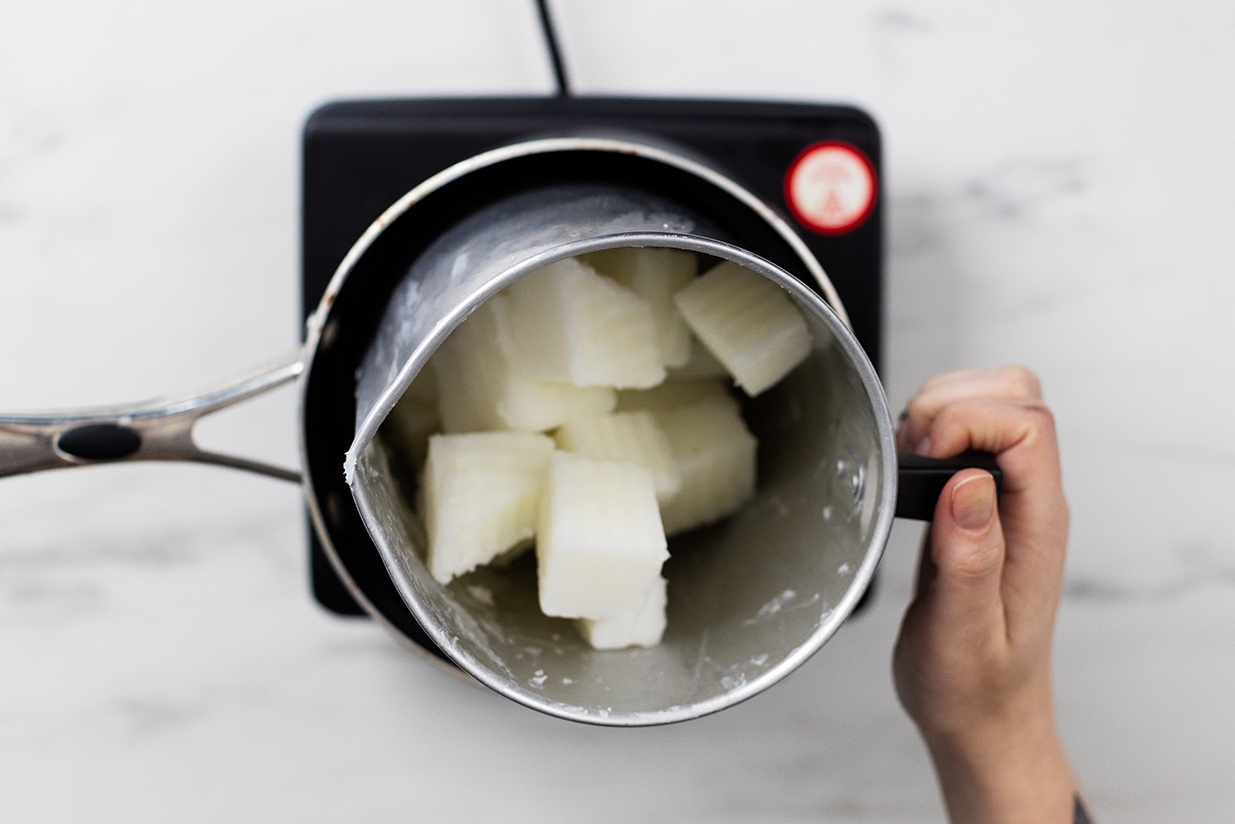
Step 1: Weigh and melt candle wax
Place the pouring pitcher on your digital scale and tare the weight. Weigh 24 oz (680 g) of IGI 6006 wax in the pouring pitcher. Begin to melt the wax with a double boiler or on a hot plate.
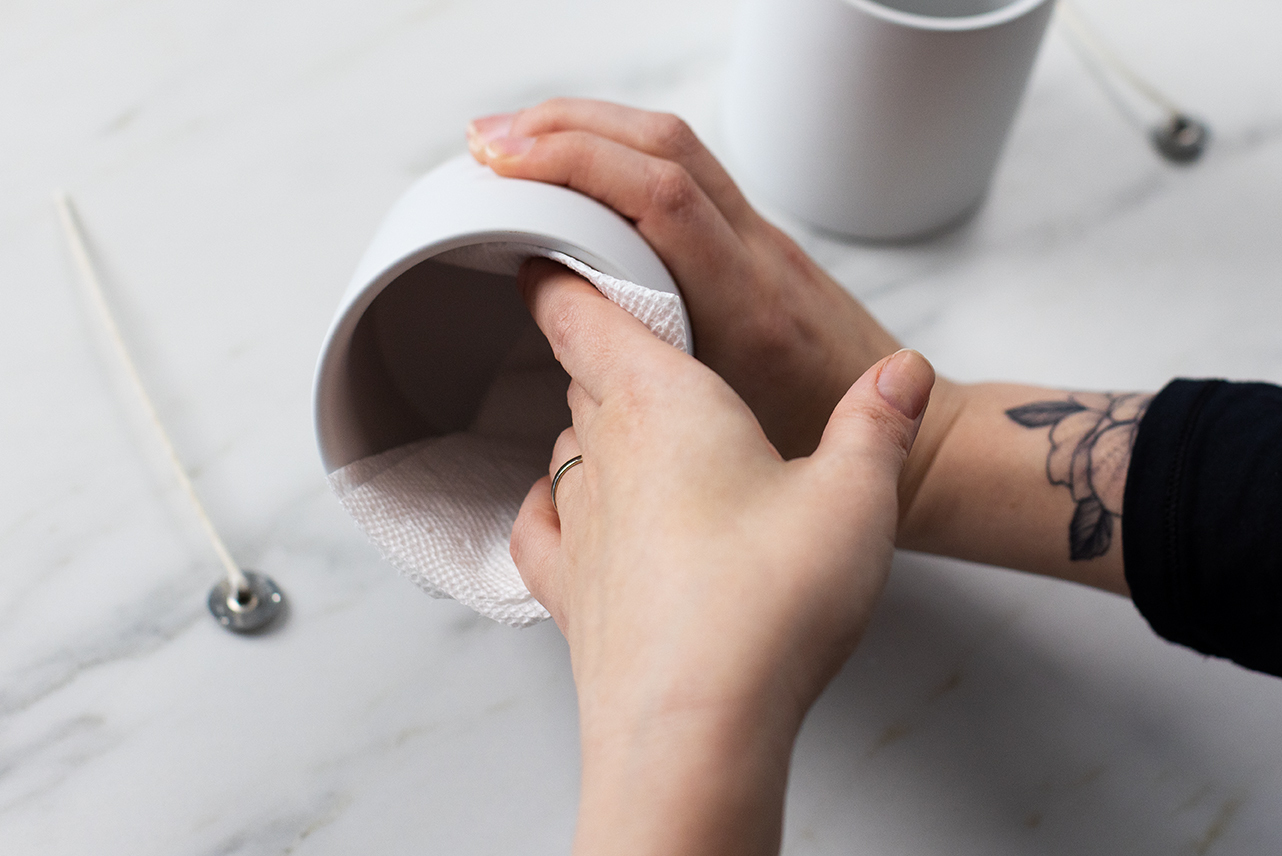
STEP 2: Prepare the candle jar
While you're waiting for the soy wax to melt, you can begin to prep your White Modern Ceramic candle jars.
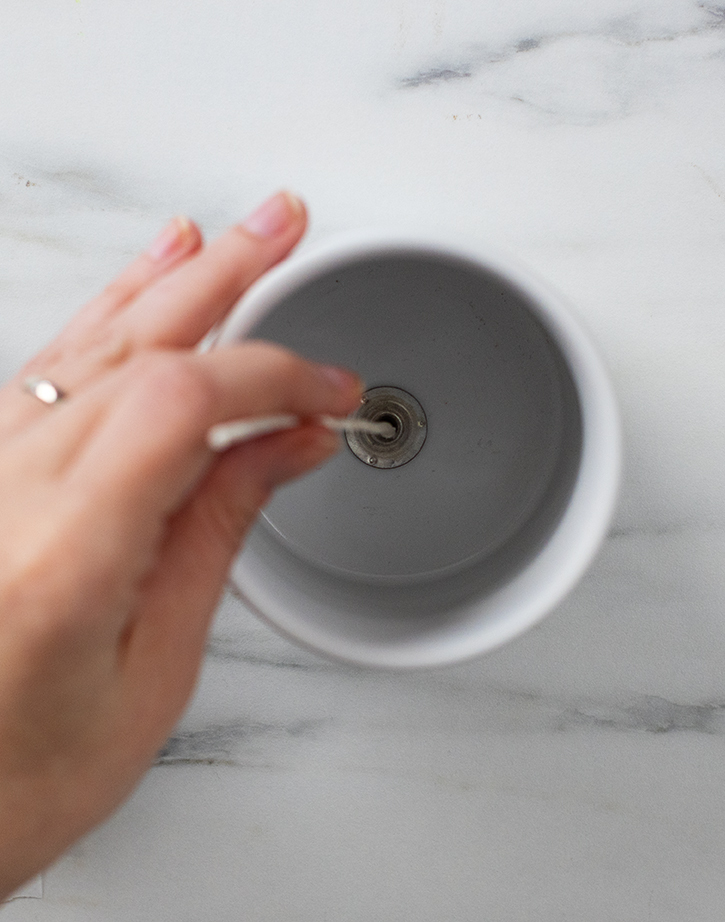
Wipe out each jar with a small amount of isopropyl alcohol and a clean paper towel. Using a wick sticker, center one ECO 10 wick in each jar.
Step 3: Weigh and add fragrance oil
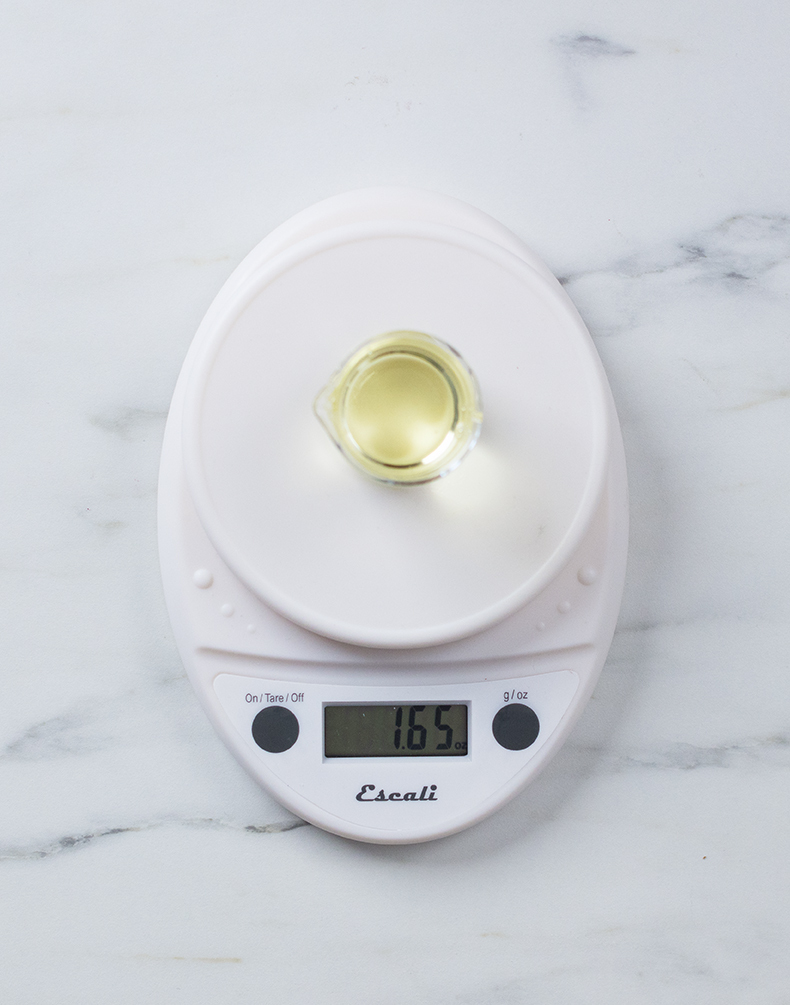
In a glass container, weigh 1.65 oz (47 g) of the Rose and Oud fragrance oil, which is about a 7% fragrance load. You can adjust up or down to your preference.
Once your wax has reached 185°F (85°C), add the fragrance oil. Stir gently for 2 minutes to ensure that the oil is fully incorporated with the wax.

STEP 4: Pour the wax
Pour the wax into the Modern Ceramic Jars when the wax cools to 165°F (73.9°C). Leave about one inch of space from the top so you have enough room to place the heart.
Note: You should have some remaining wax in your pitcher; make sure to save it, as you’ll use it later in this tutorial.
Secure wick with a wick bar and allow your candles to start cooling. Allow your candle to cool completely.


PART 2
Step 1: Prepare wax for heart embed
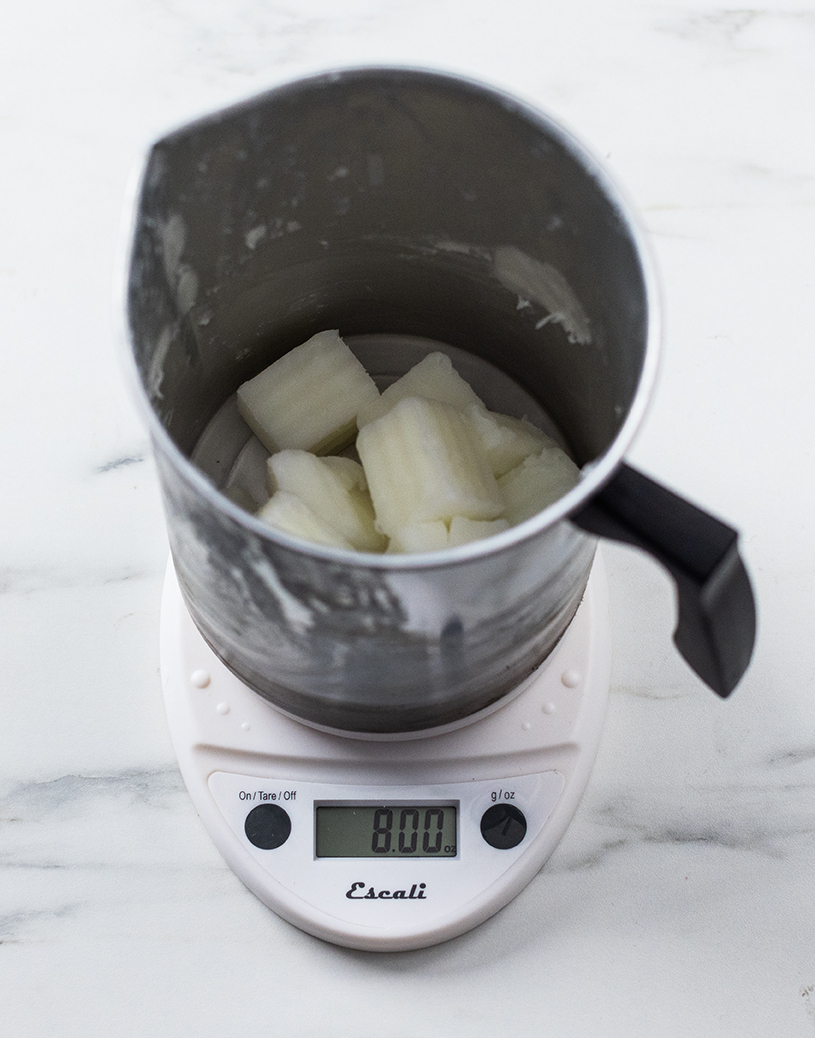
Place the pouring pitcher on your digital scale and tare the weight. Weigh 8 oz (227 g) of IGI 6006 wax in the pouring pitcher. Begin to melt the wax with a double boiler or on a hot plate.
While you're waiting for the soy wax to melt, weigh 0.5 oz (14 g) of Rose and Oud fragrance oil.

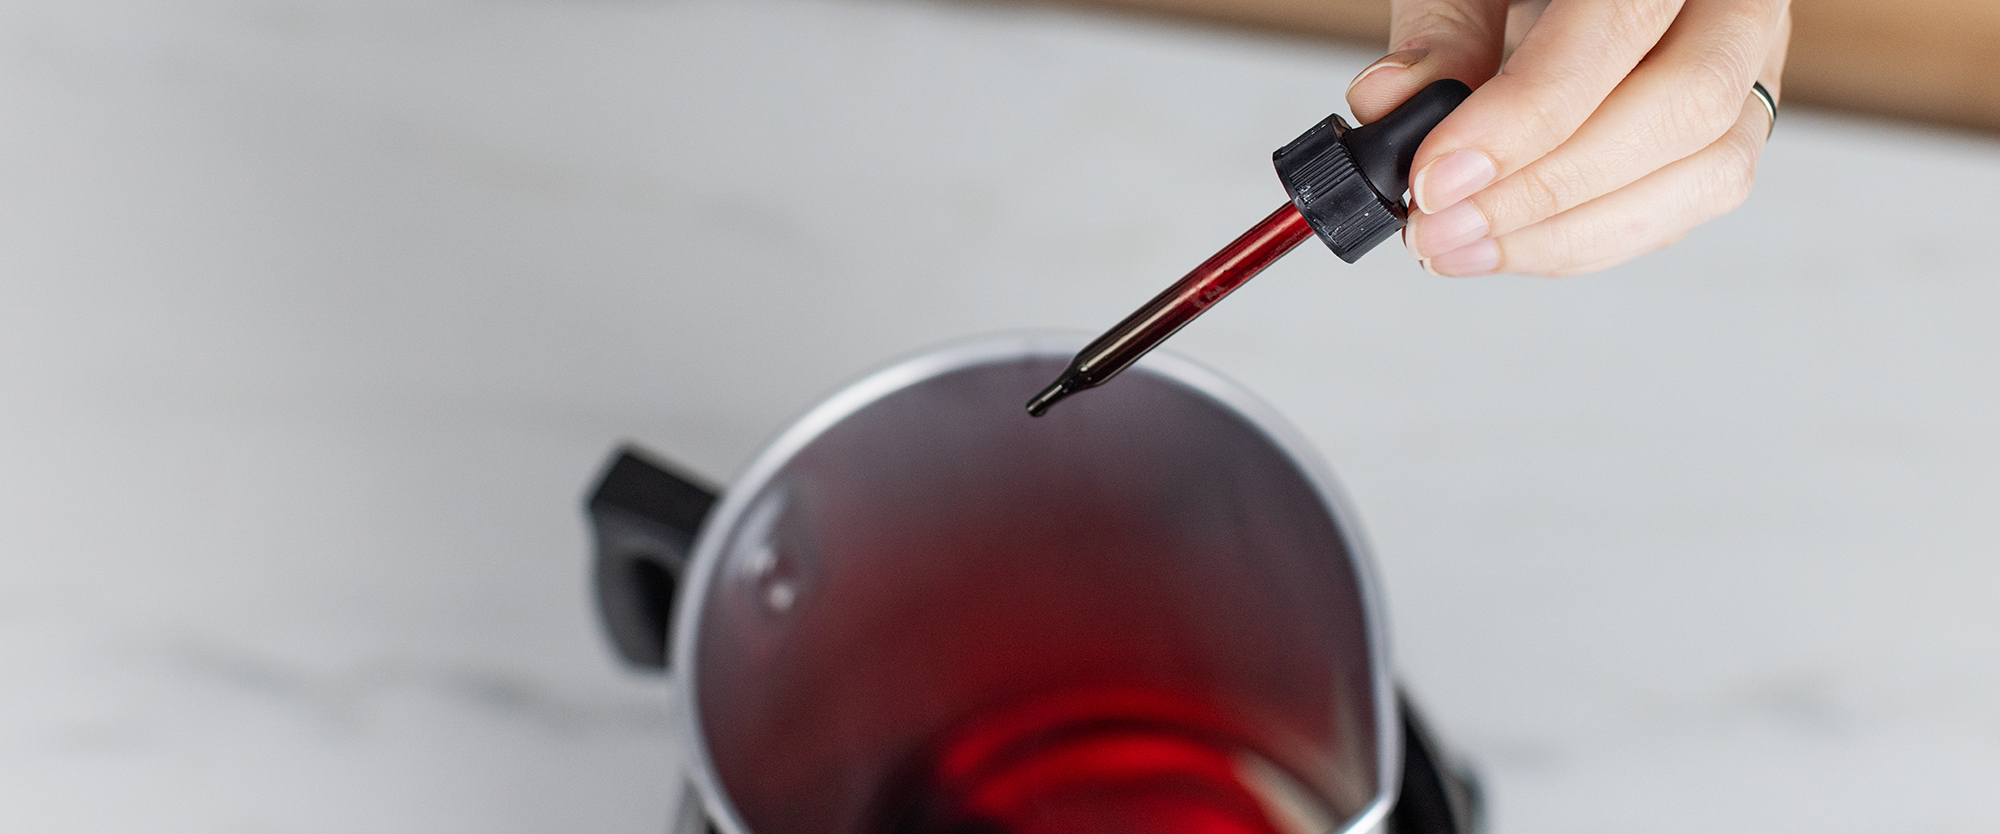
When the wax reaches 185ºF (85°C) add 3-6 drops of Red Liquid Dye, depending on the color intensity you want to achieve (we used 3 drops). Remove the pitcher from the heat, and add the fragrance. Stir gently.
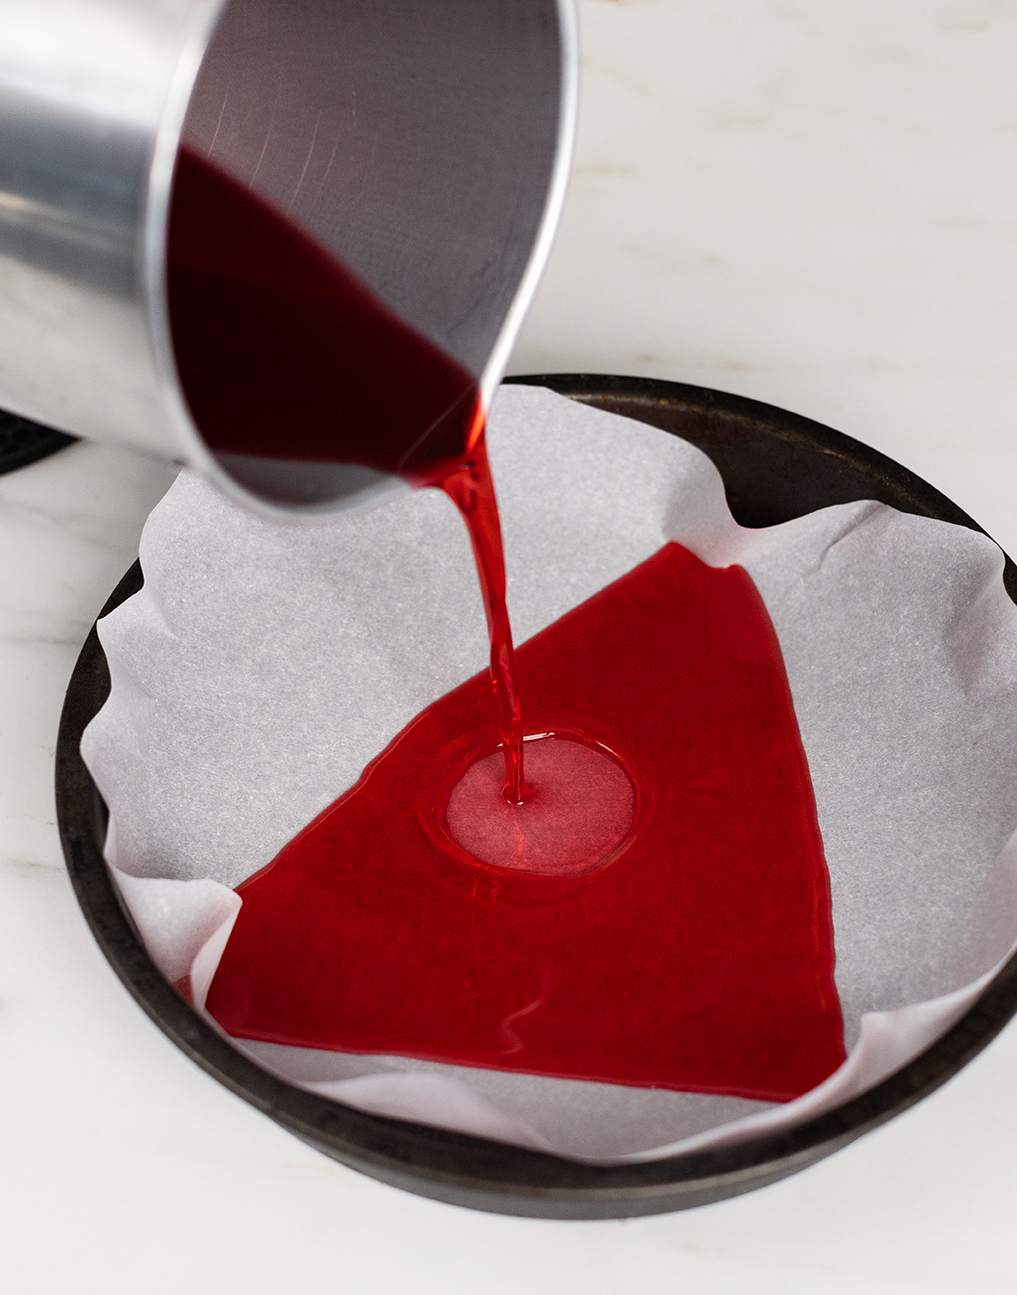
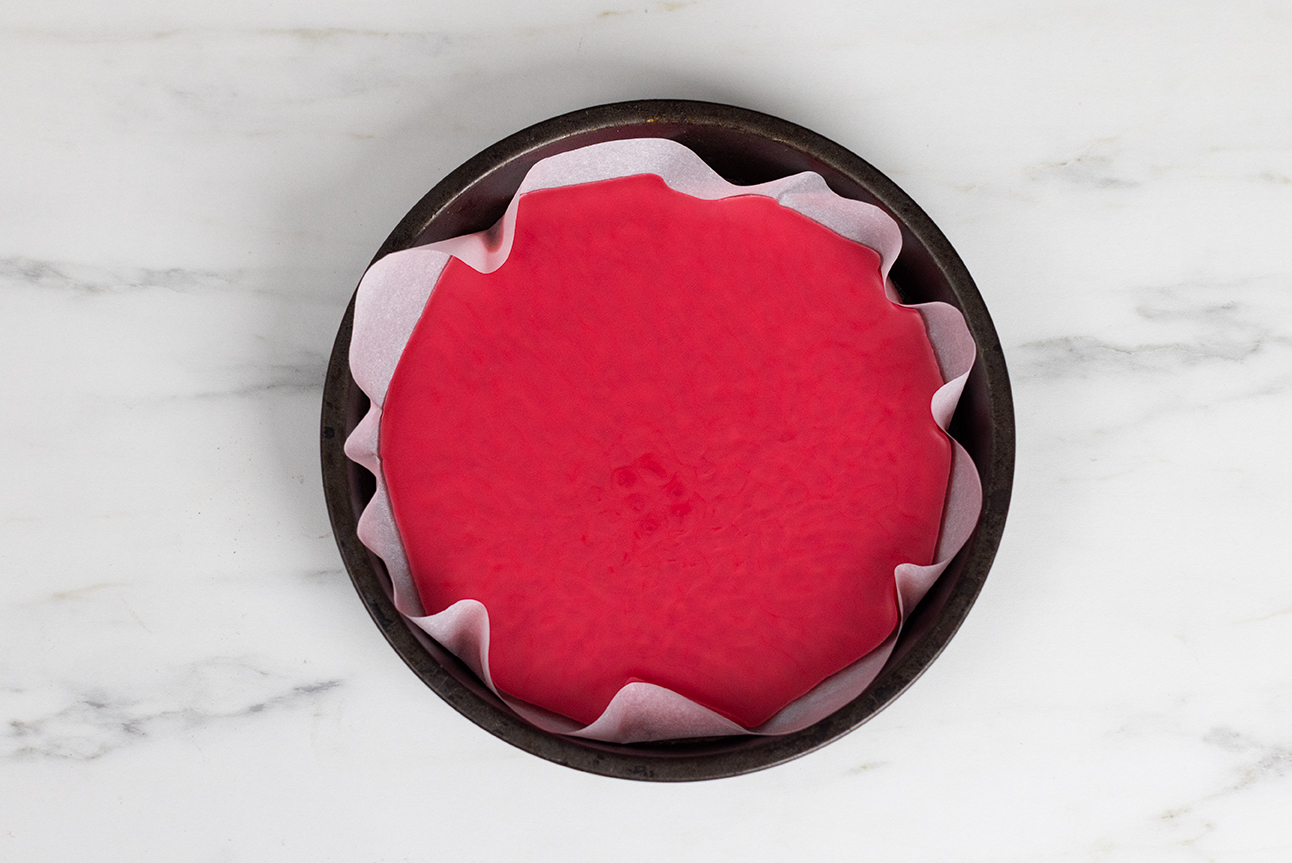
Step 2: Pour wax into pan
Pour the wax into a metal pie plate lined with parchment paper.when the wax cools to 165°F (73.9°C). Allow the wax to cool until it is solid throughout, but not totally hardened. It should take about 45-60 minutes.
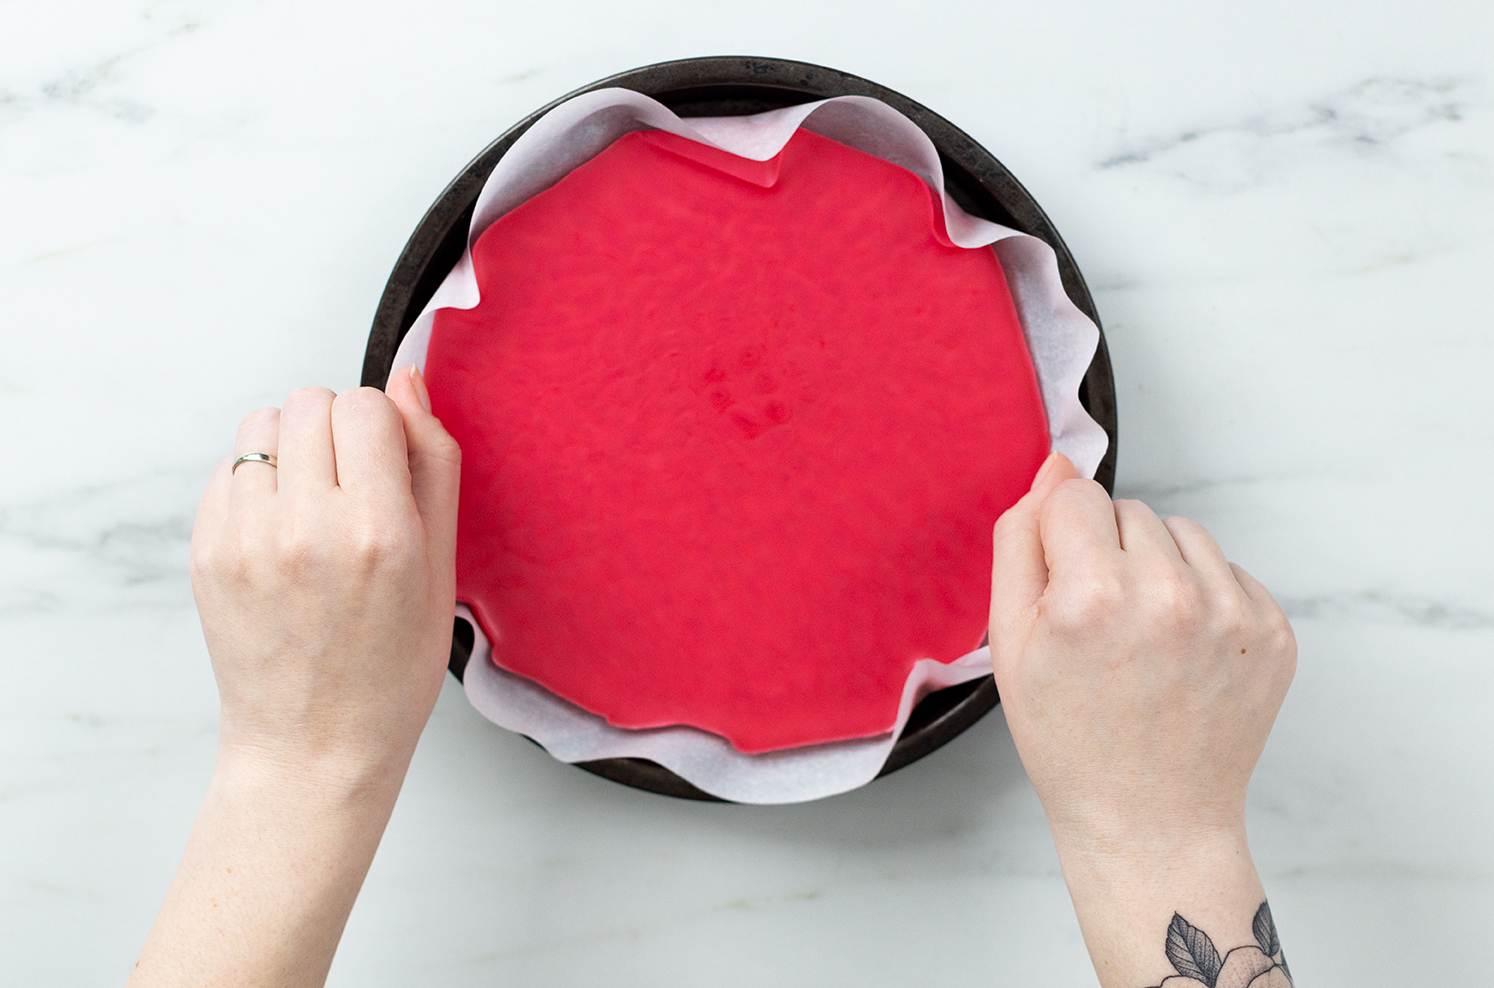
Step 3: Cut embeds
Note: Wear gloves if you’re concerned about getting dye on your hands.
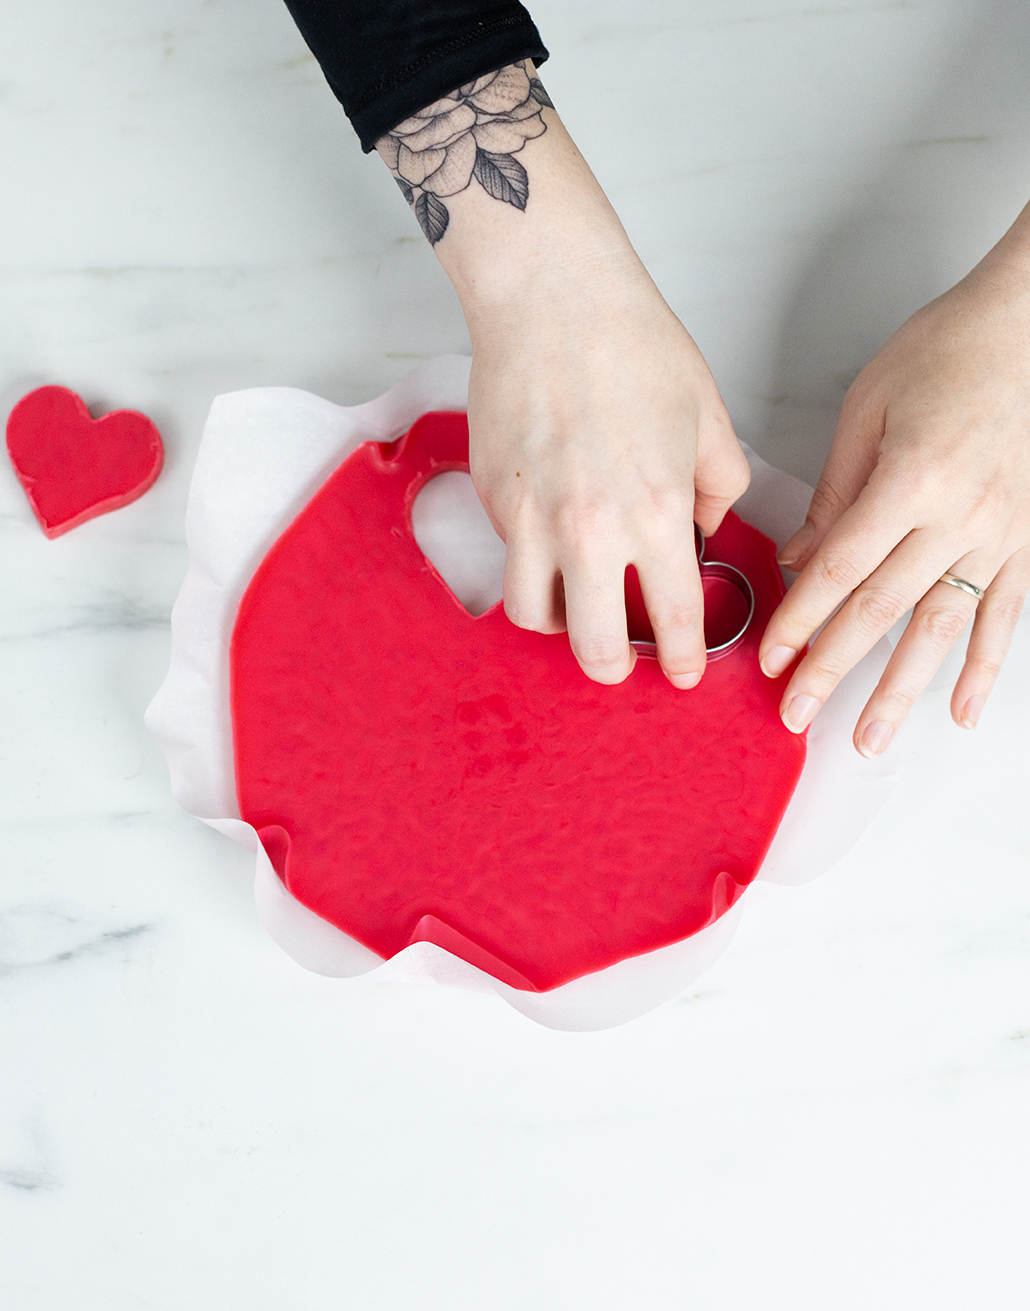
Remove the parchment paper and wax from the pan, and place on a flat surface. Slowly press the heart-shaped cookie cutter into the wax. Remove the heart shape and set aside.
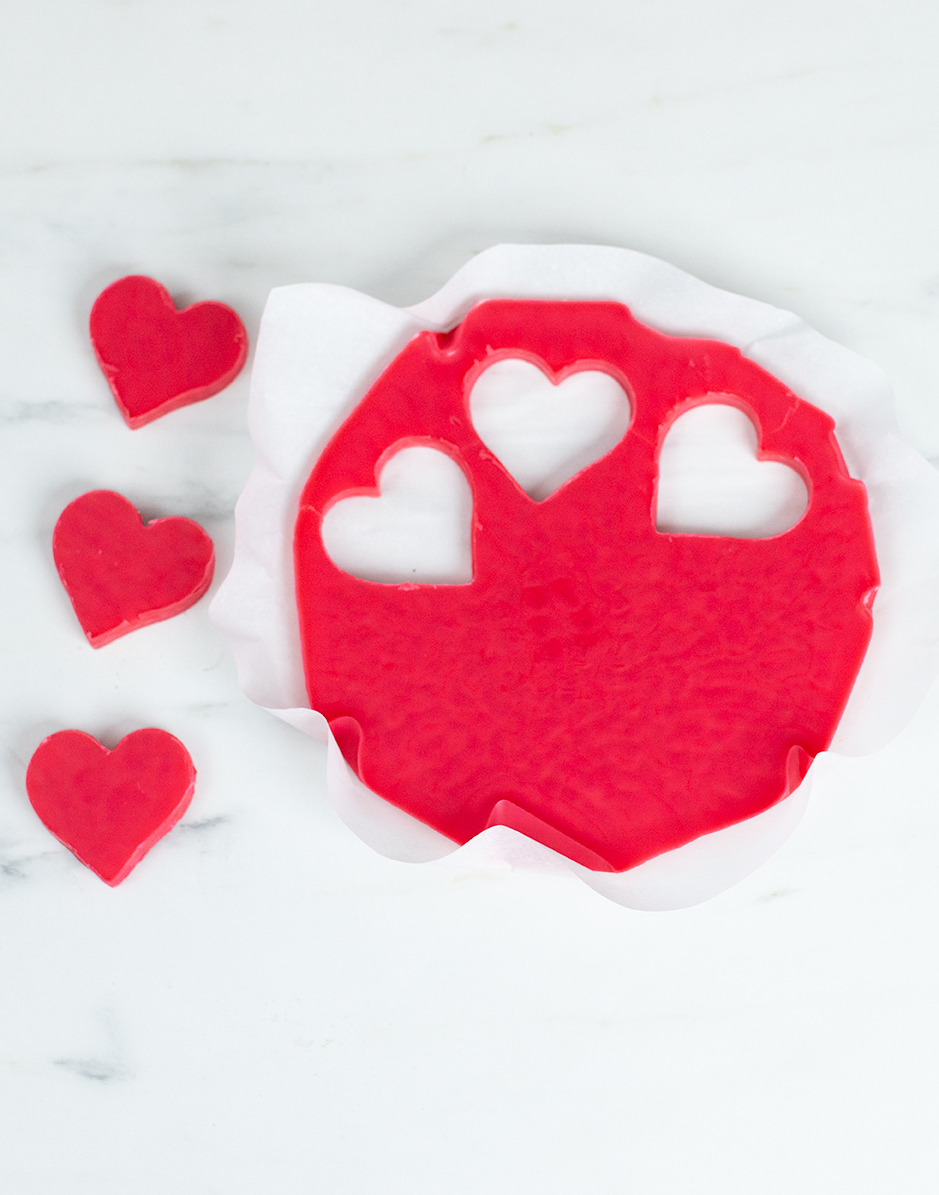
Use the wick pin to poke a hole roughly in the center of the heart. The wick pin should poke through the wax hearts easily.
Note: You will have enough red wax to make about 6 hearts, with enough left over to melt down and cut out 6 more. You can use these to make more candles or wax melts.

PART 3
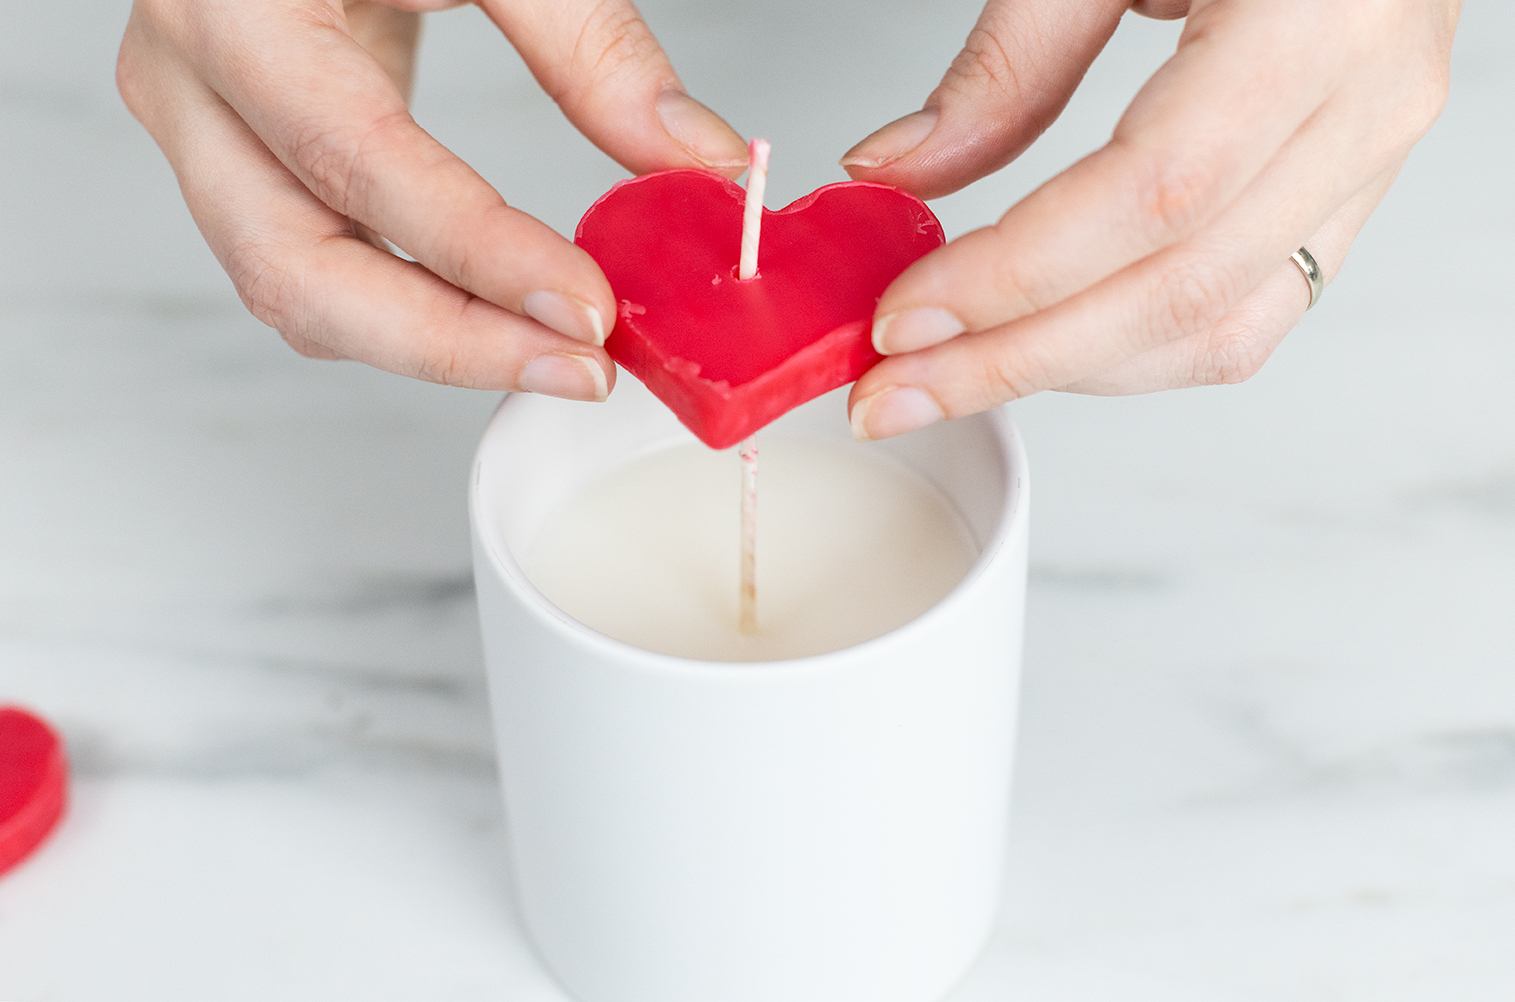
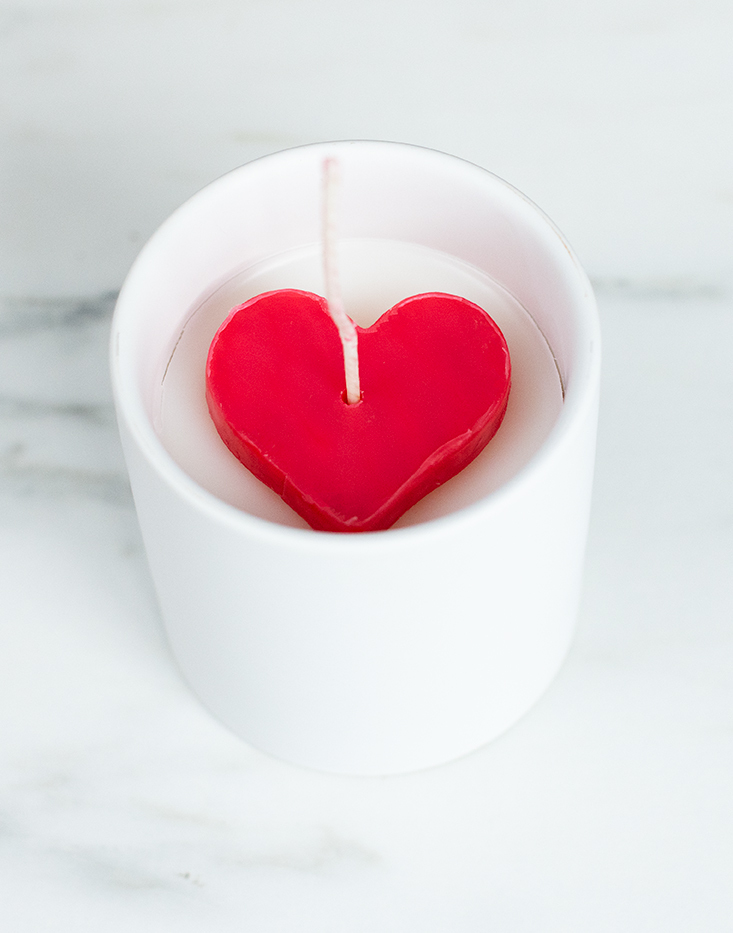
Step 1: Place heart embed
Remove the wick bars from the cooled candles. Thread the wick through the hole you created in the red heart and allow it to rest on top of the cooled candle.
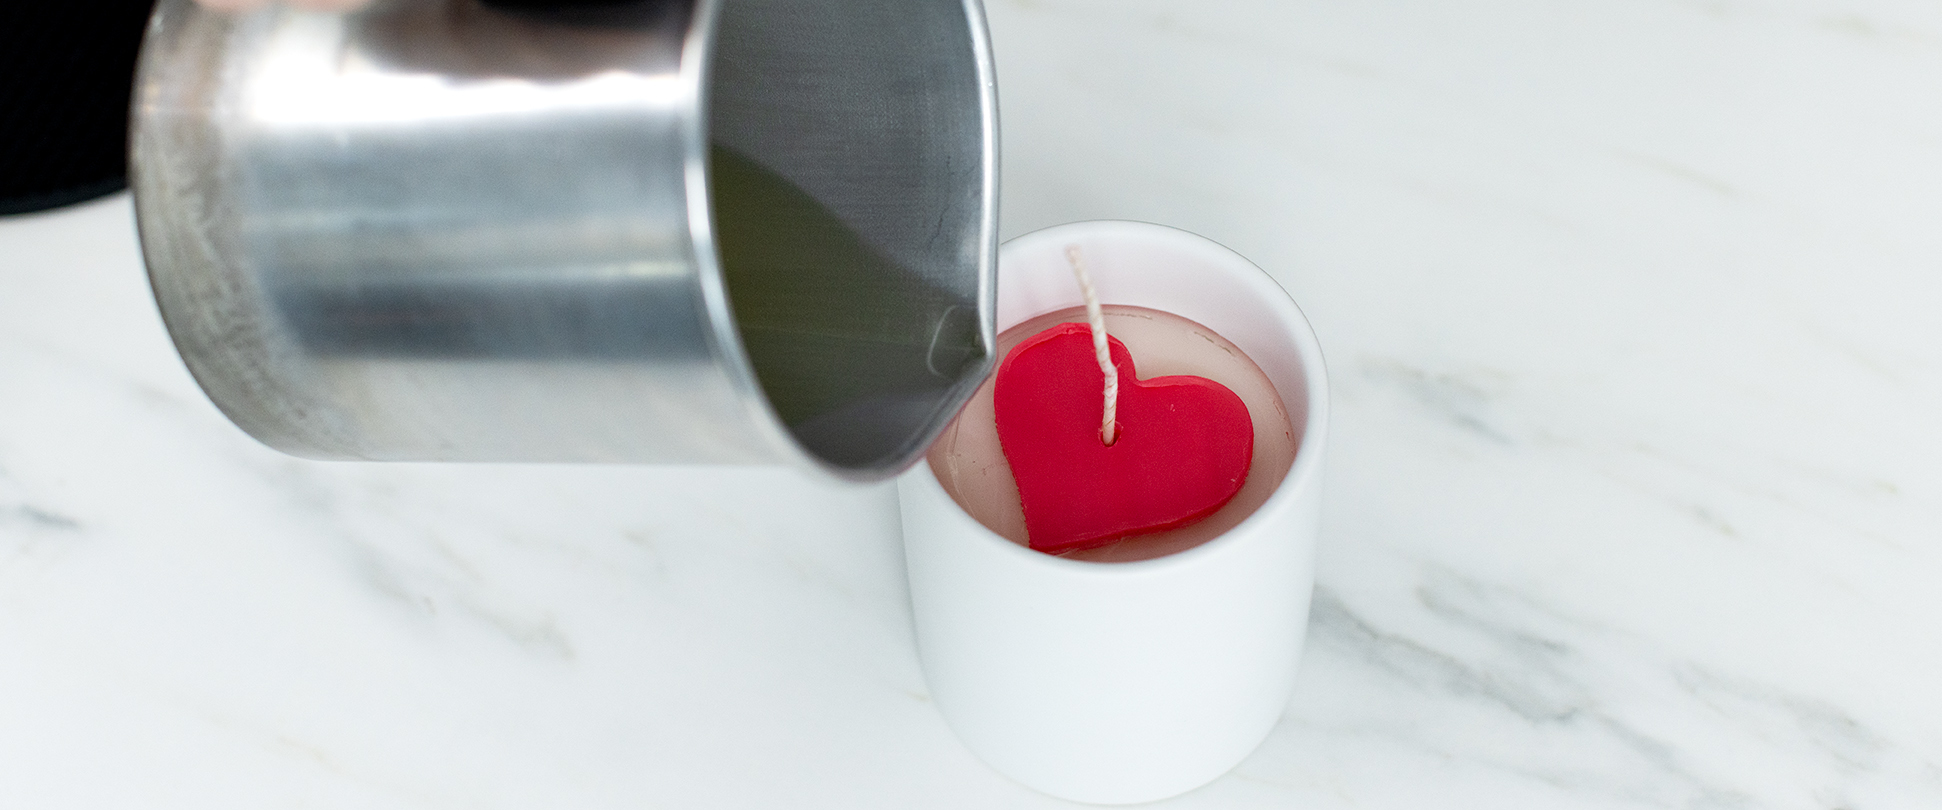
Step 2: Fill in gaps with wax
Reheat the leftover white wax you saved from Part 1 to 160ºF (71.1°C) and carefully pour it around the edge of the candle, being very careful not to cover the red heart. This will make your red heart look "embedded" in the white wax.
Let the wax to cool and trim the wick to 1/4 inch (6 mm).

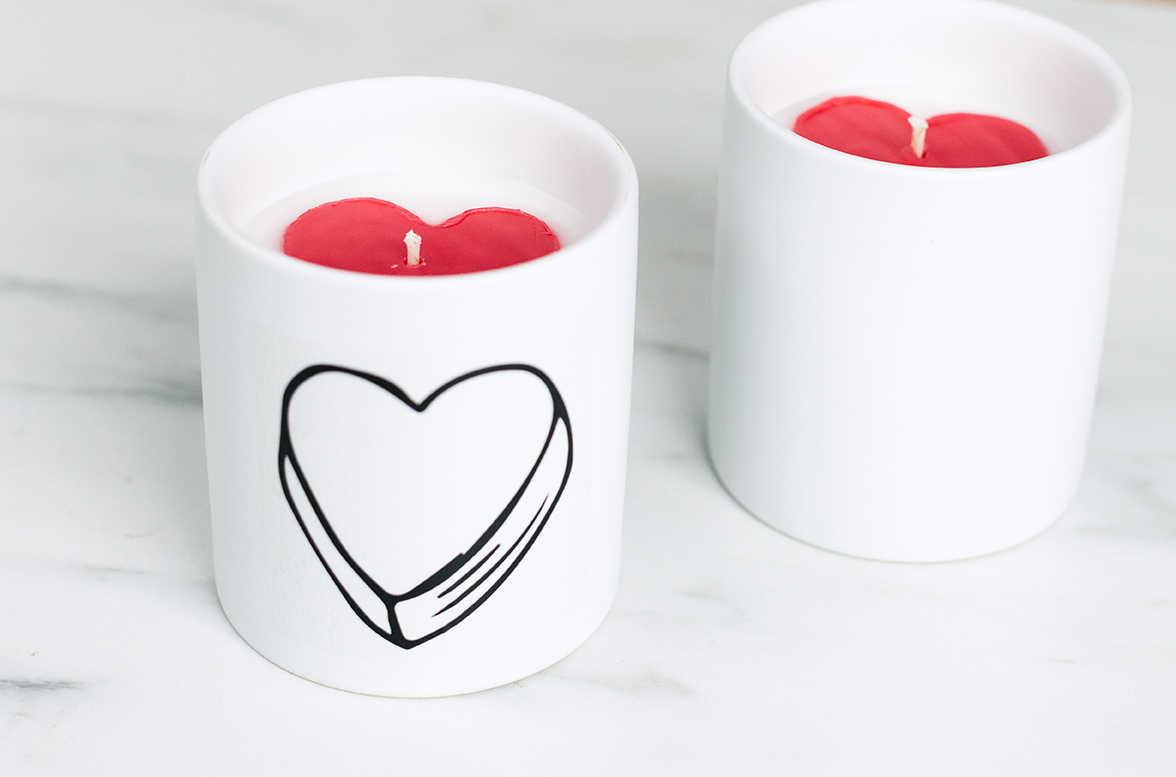
We custom-designed our labels with a graphic design tool, then uploaded and printed them with Avery WePrint™. Head to avery.com to browse designs, create your own, and take 10% off all label orders!
Show off your take on the embedded heart candles and all your handmade creations, with the CandleScience community by tagging us @CandleScience and using the #CandleScientist hashtag on Facebook, Twitter, and Instagram. We may feature you in our Stories or on our website!