How to make a layered pillar candle with soy wax
Now that you’ve mastered basic pillar candles, let's add a layer of interest to them! Layered pillar candles can be tricky and sometimes frustrating, but with a little patience and practice, you’ll be ready to explore all the creative possibilities of this technique.
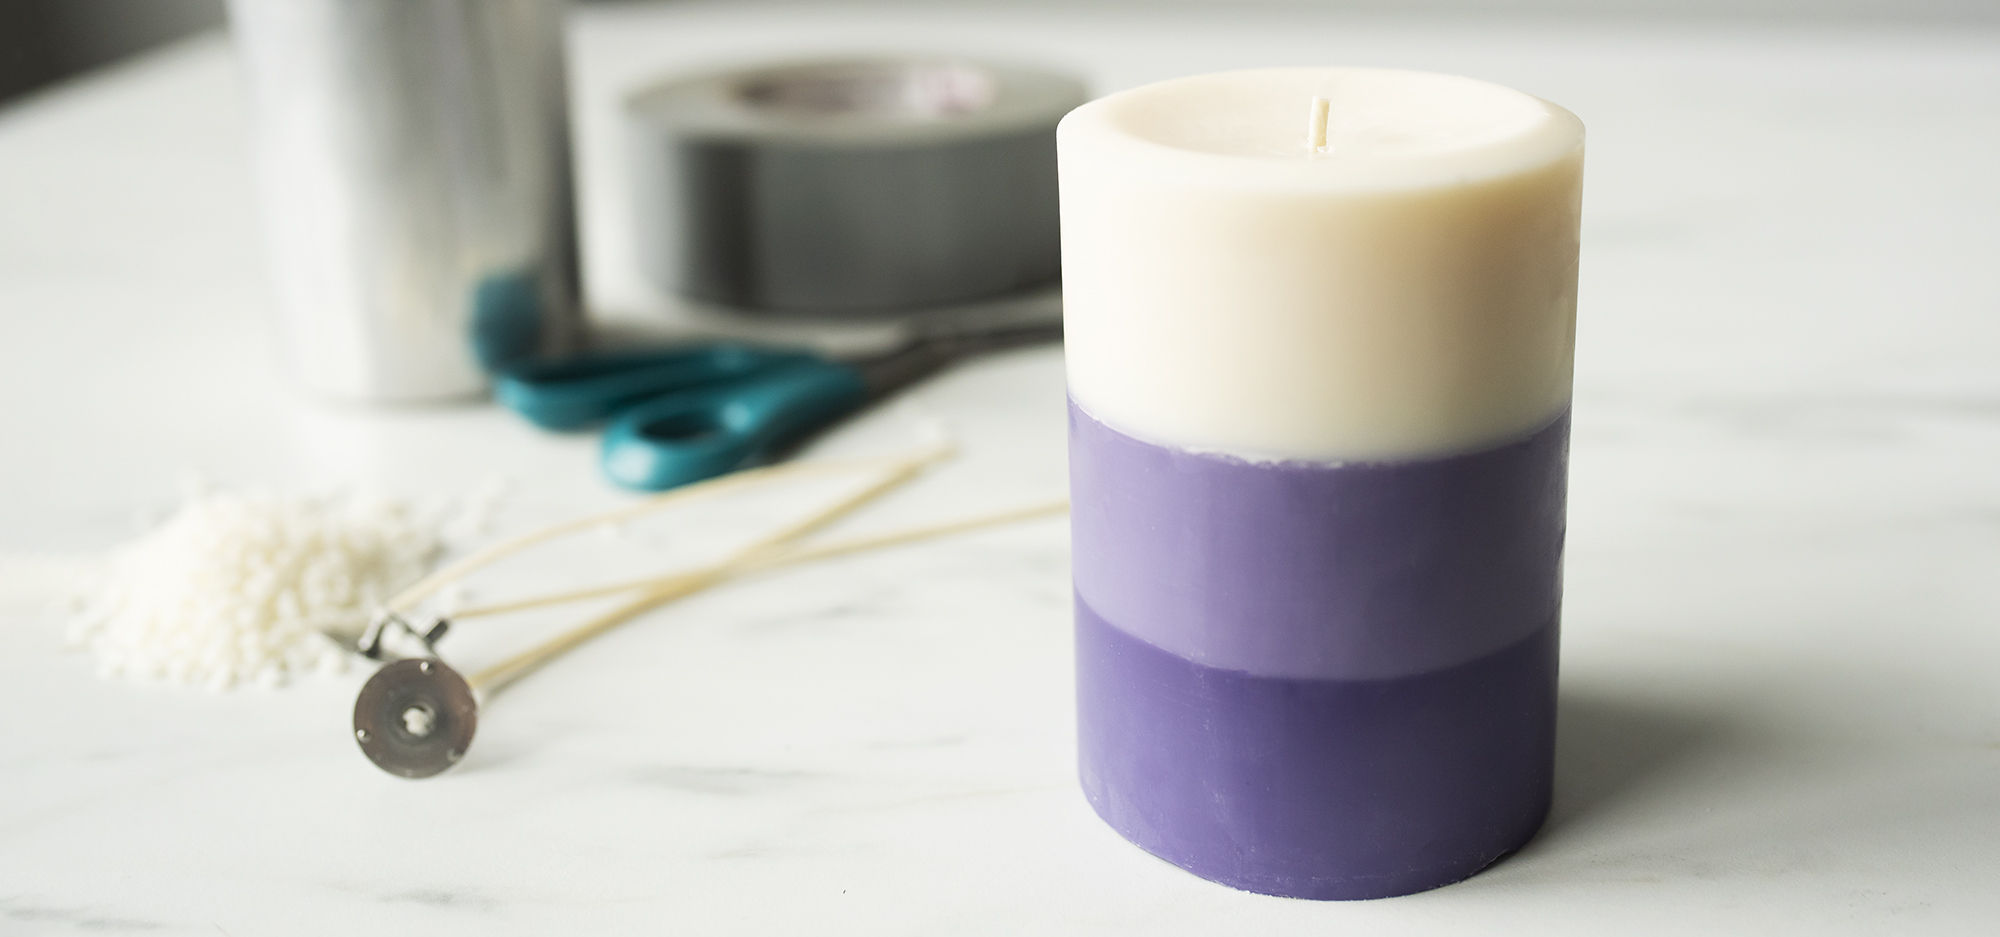
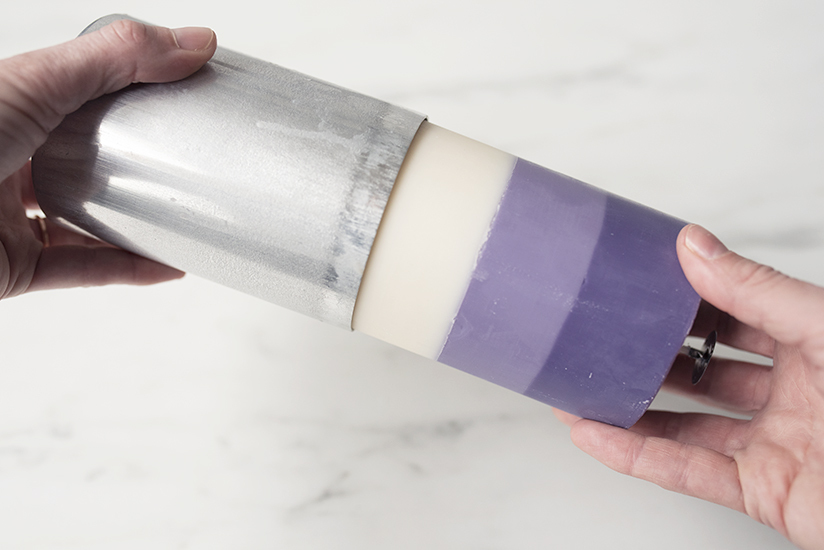
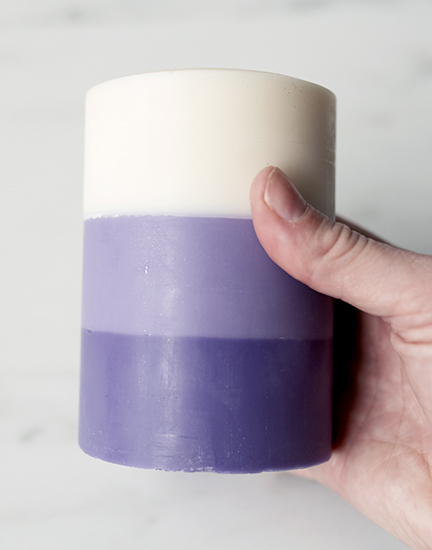
We used Seaside Plumeria fragrance oil and Purple Liquid Candle Dye for our pillar candle for a trendy ombre look. Create your own custom pillar candle; experiment with different colors or create a blending "scent-scape" by using different, complementary fragrance oils in each layer.
EO Notes: You can also use candle-approved essential oils for this project. Check the recommended usage percentage on the essential oil product page and start with low percentages. How to Make Soy Candles with Essential Oils
Additional items needed:
- Double boiler
- Stirring spatula
- Glass measuring cups
- Paper towels
- Isopropyl alcohol
- Duct tape
- Scissors
Directions:
Note: Each layer will have to cool almost completely before you pour the next layer. This adds a lot of time to complete this candle.
For basic pillar candle directions, and tips and tricks, visit: How to make a pillar candle.
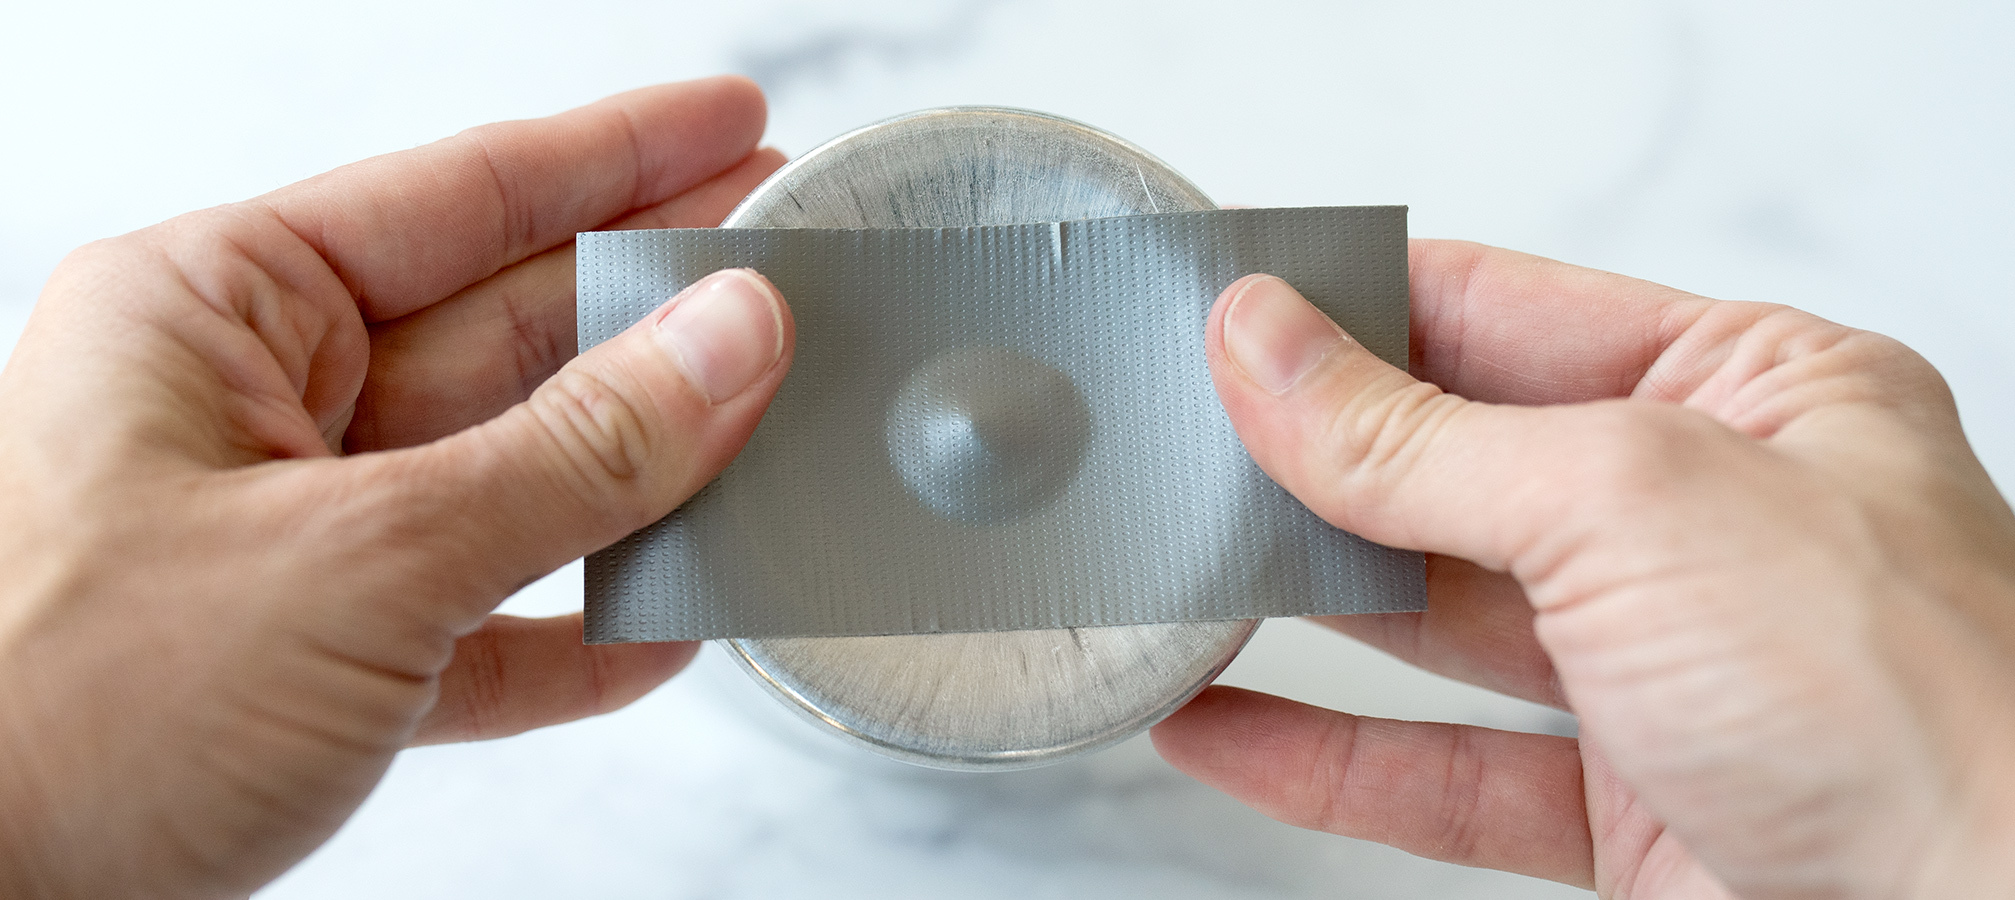
Step 1: Prepare your mold
We've put together a tutorial for preparing your mold. Visit: How to wick your pillar mold for step-by-step instructions!
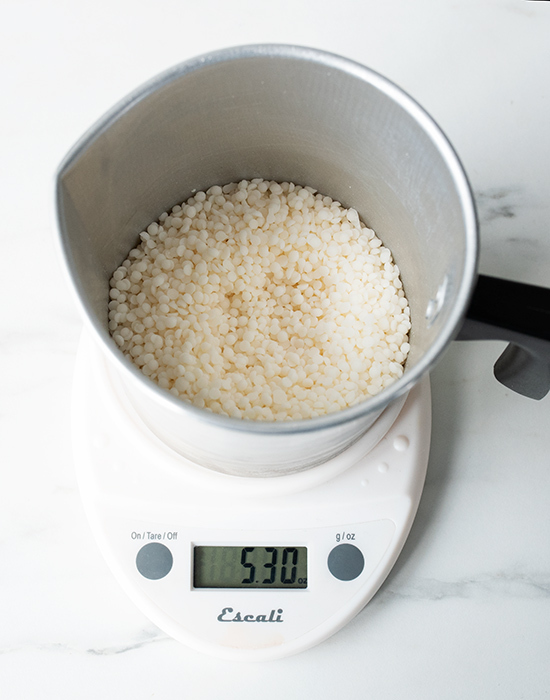
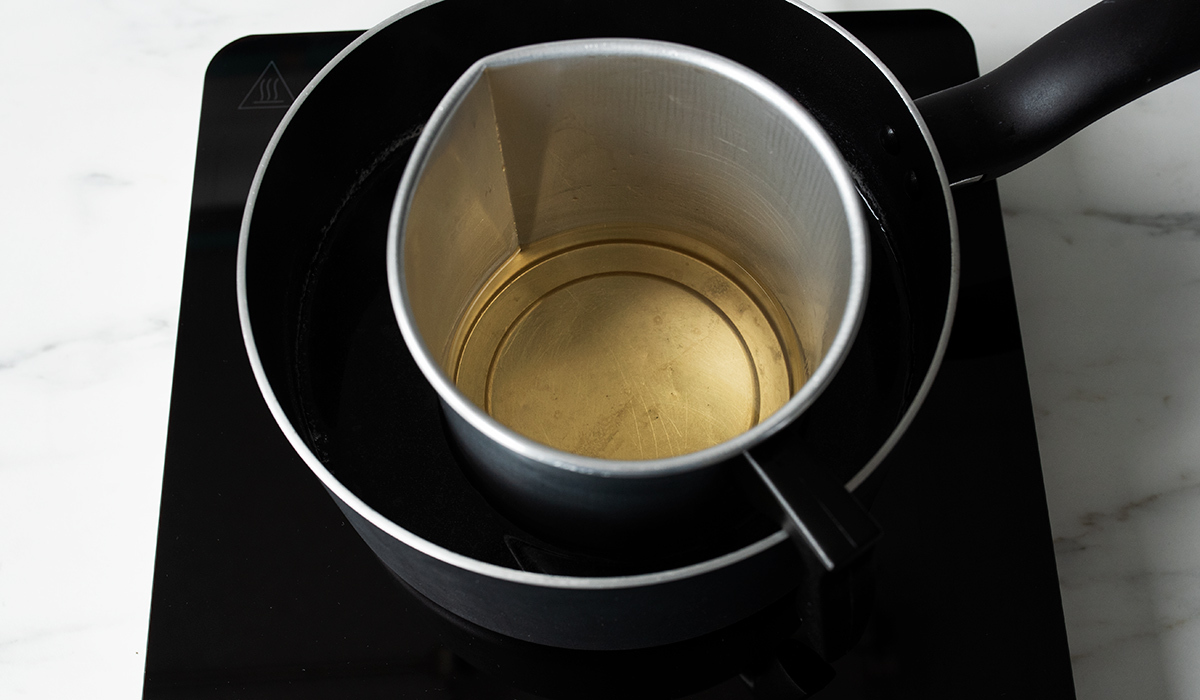
STEP 2: Weigh and melt your wax
Note: We’re doing even layers so we will weigh out the same amount of wax for each layer. You can use 3 pouring pitchers to measure wax for all individual layers at once if you don't want to clean in between layer pouring.
Place the pouring pitcher on your digital scale and tare the weight. Weigh 5.3 oz. (150 g) BW-921 wax and begin to melt the wax with a double boiler.
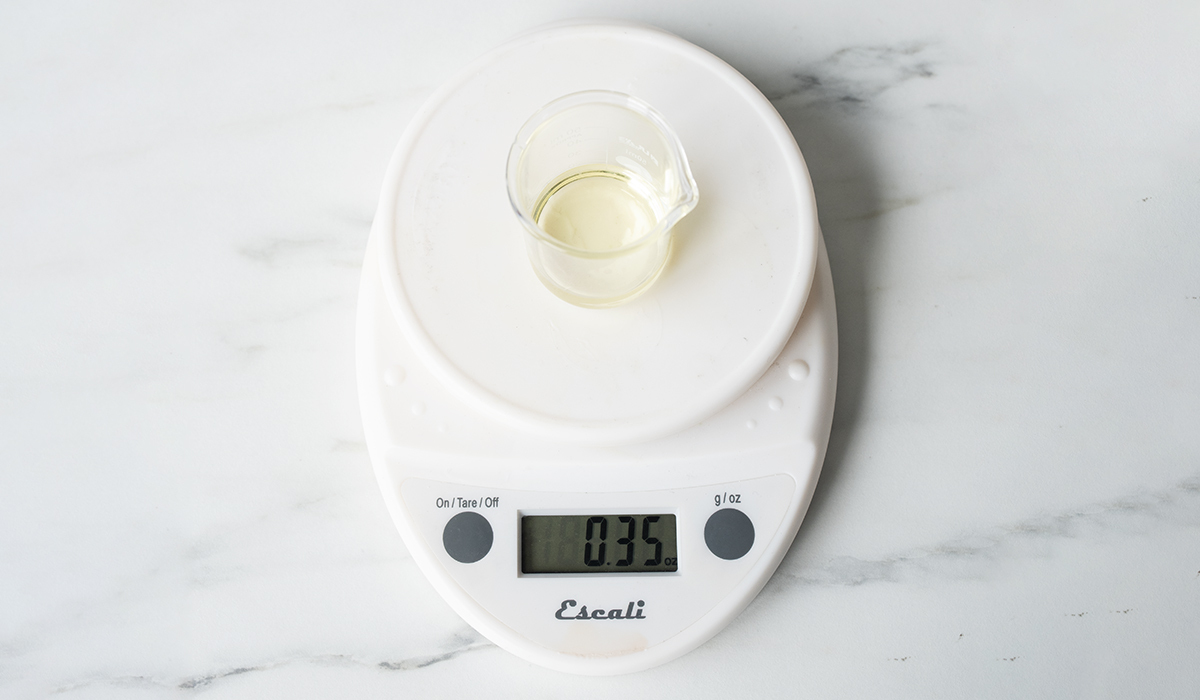
Step 3: Weigh and add the fragrance oil
While the wax is melting, weigh out .35 oz. (10 g) of Seaside Plumeria fragrance oil, approximately a 7% fragrance load.
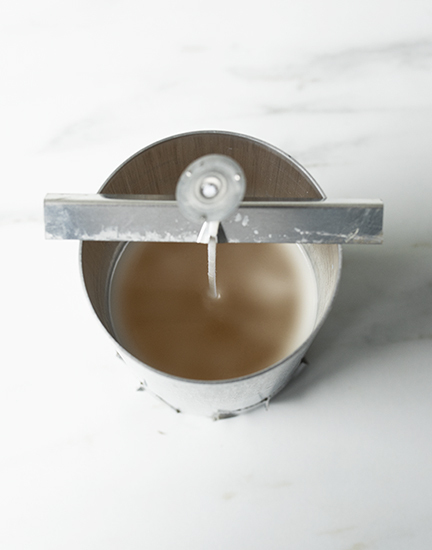
We're leaving our first layer (the top of the pillar) undyed.
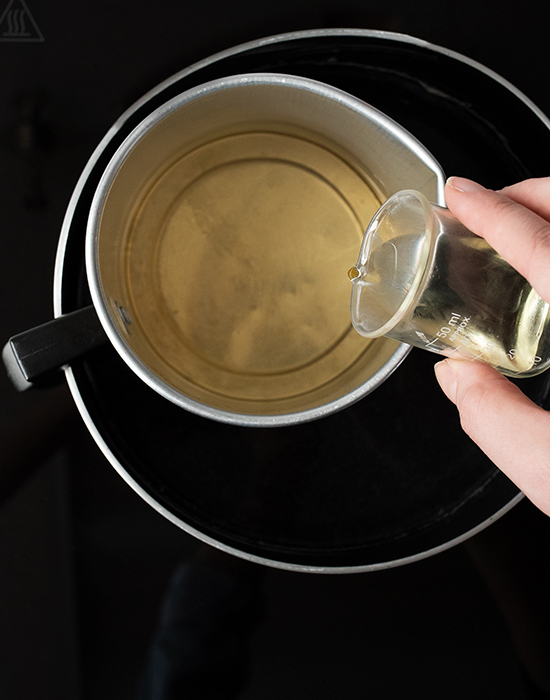
Once the wax reaches 185°F (85°C), it’s time to add the fragrance oil. Pour your fragrance oil and stir thoroughly for 2 minutes to make sure the fragrance oil is fully incorporated into the wax.
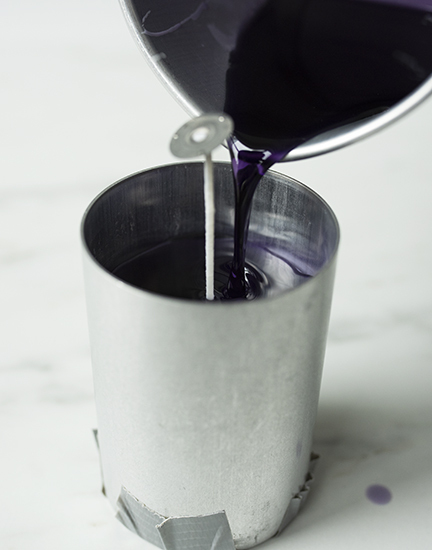
Step 4: Pour the wax layer
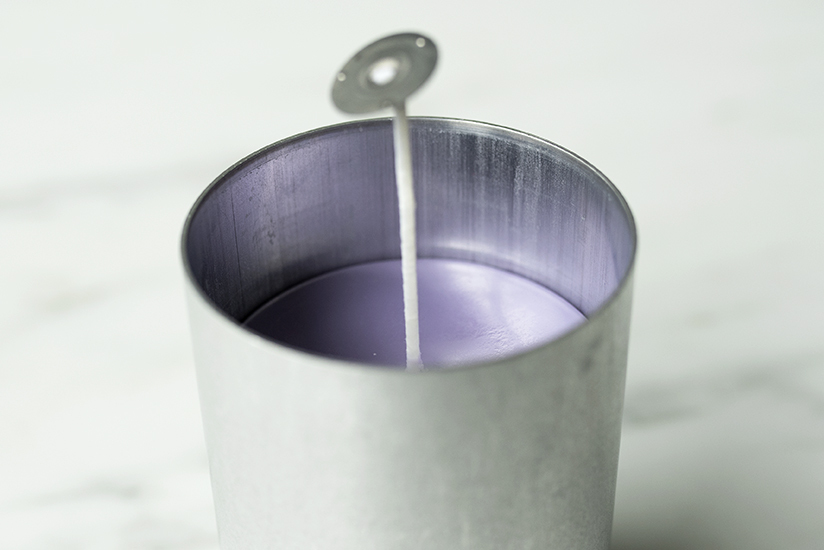
When the wax has cooled to 170°F (76.7°C), pour it into your mold. Pour slowly and near the wick to keep the wax off of the sides of the mold.
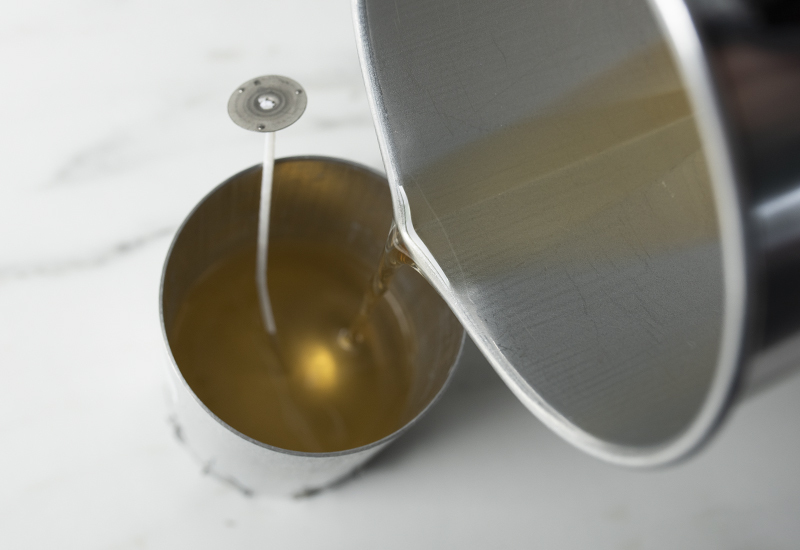
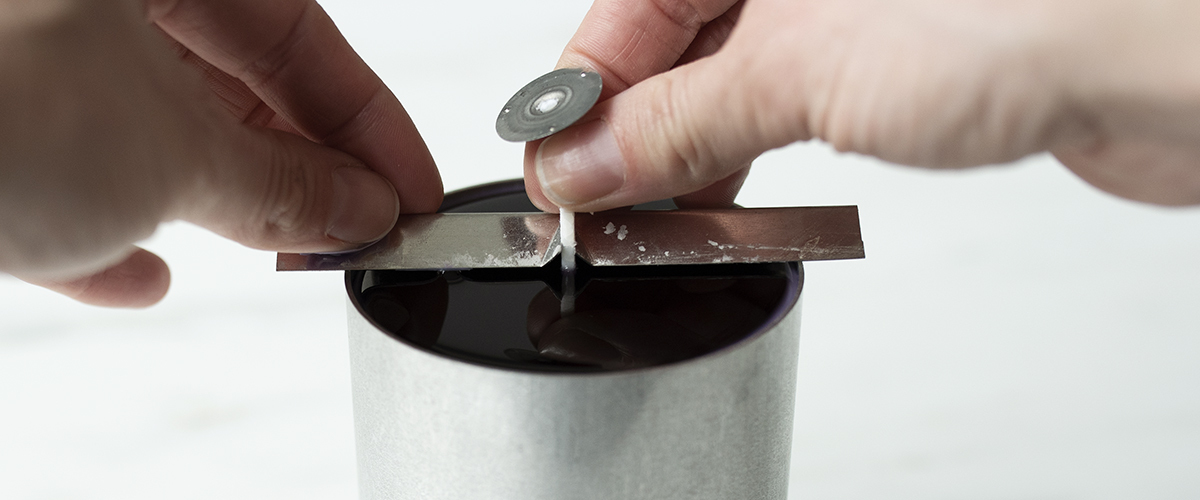
Pull the wick taut and secure it with a wick bar.
Let the layer cool for about 45 minutes to 1 hour. You want the wax to be firm enough so it won’t melt when the next layer of hot wax is poured, but still plenty warm so that the next layer will stick.
Note: Cooling times can vary depending on your environment. When testing, we found finding the perfect cooling time to be the trickiest part of the process. The mold should be fairly warm to the touch, but the wax needs to be mostly cooled to avoid color blending.
STEP 5: Create layers 2 and 3
Repeat steps 2-4 for the second and third layer, with the addition of adding the dye.
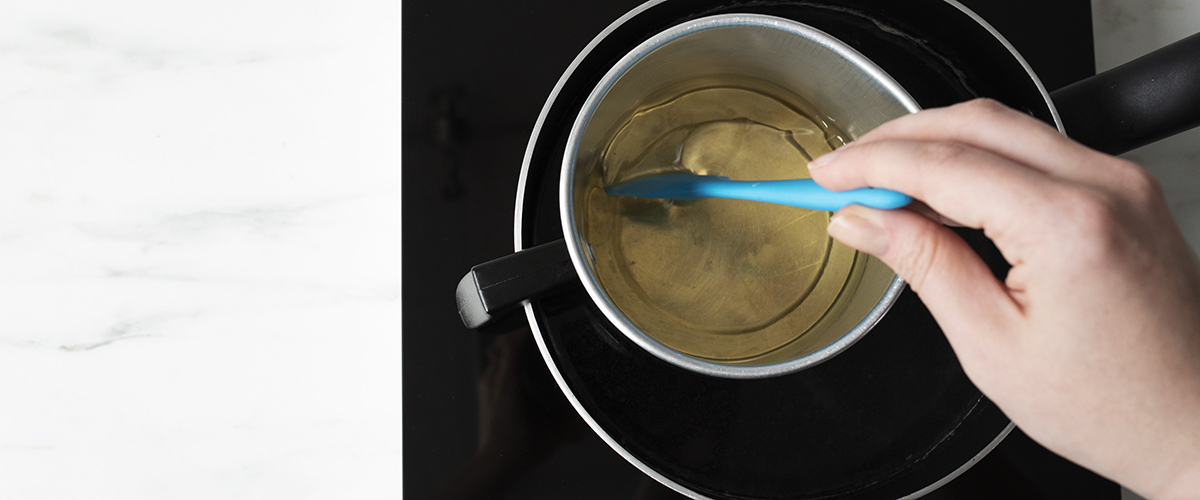
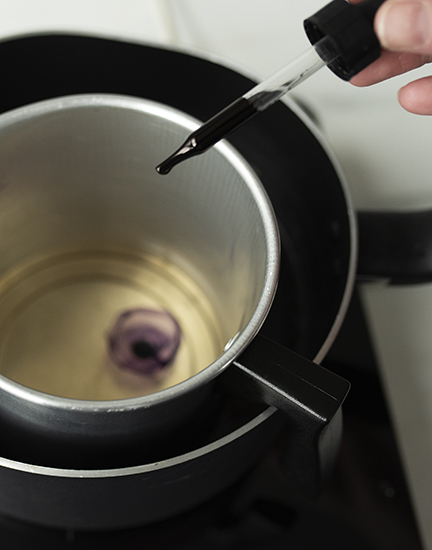
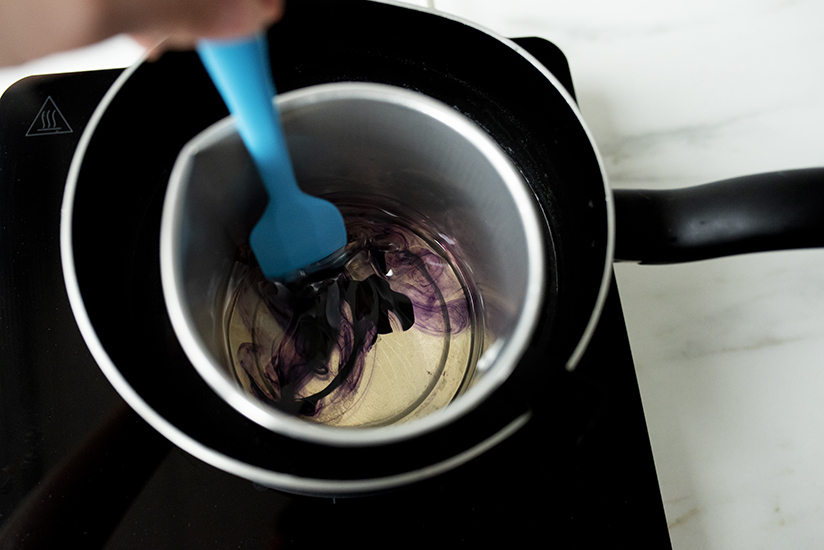
You can add your Purple Liquid Candle Dye while you’re waiting for your wax to reach 185°F (85°C). Stir gently until the color is evenly distributed throughout the wax.
Layer 2: Add 1 drop of Purple Liquid Candle Dye
Layer 3: Add 2-3 drops of Purple Liquid Candle Dye
Step 6: Let pillar cool and unmold
Once all of your layers have been poured, allow the candle to cool completely.
As the wax cools, it will shrink. Your cooled pillar may require a small top pour to smooth out the bottom. See Step 4 in How to make a pillar candle for second pour instructions.
The mold should be cool to the touch, and you should notice the candle pulling away from the sides of the mold.
Gently pull on the wick to release the candle from the mold while angling it downward. Do not pull on the wick too hard or the wick might pull out of the candle, leaving your candle behind in the mold.
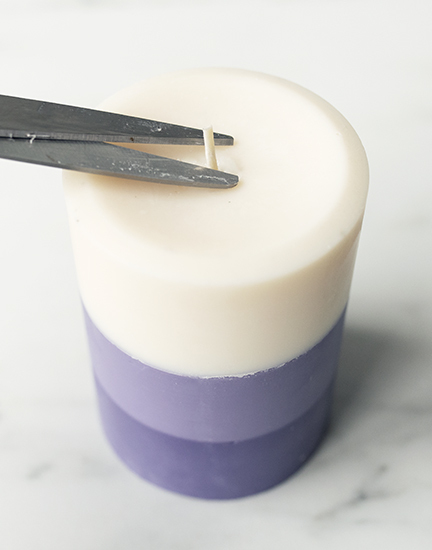
Trim your wick to ¼ in. (6 mm) and your candle is complete!

Show off your take on the layered pillar candle and all your handmade creations, with the CandleScience community by tagging us @CandleScience and using the #CandleScientist hashtag on Facebook, Twitter, and Instagram. We may feature you in our Stories or on our website!